This year brings with it new gaming goals and challenges. One of the chief goals that I have set for myself is to properly chronicle and record every game of BattleTech and Alpha Strike that I play on the tabletop this year right here on Sarna.
On December 31, 2018, I want to look back at all of the articles and games recorded and see a big year of gaming and fun times with friends.
With this first battle report of 2018, I begin my story.
“Hey, since I’m coming over today to pick something up, want to throw in a quick game of BattleTech?”
That was what my friend asked me the morning of January 6. Quick game of BattleTech? I shrugged when I considered it. We both knew that kind of thing didn’t exist, but he knew how to hook me. (Hint: It’s not difficult when BattleTech is what’s offered!)
And so, I set about pulling together a game.
Before I get to the Battle Report, let’s take a look at the forces. I used what’s become my default Lance from my Republic forces while my opponent wanted to take a stroll down memory lane with some well-known BattleMech chassis.
Free Worlds League Rabble
WHM-8D Warhammer – Gunnery 3/Piloting 4
CRD-6M Crusader – Gunnery 3/Piloting 4
MAD-9M Marauder – Gunnery 3/Piloting 4
TDR-9M Thunderbolt – Gunnery 3/Piloting 4
XII Hastati Sentinels
PRF-1R Prefect – Gunnery 3/Piloting 4
HVC-P6 Havoc – Gunnery 3/Piloting 4
DLR-O Doloire – Gunnery 3/Piloting 4
LMT-2R Lament – Gunnery 3/Piloting 4
We decided to keep things simple by just choosing `Mechs and taking all 3/4 pilots. The BV2 had a slight skew when I went to look at it later, but the game was interesting in spite of (or because of?) it.
Table and Scenario Setup
After deciding on the maps we would use, we wanted to come up with at least a basic scenario that would make it feel like we were doing more than lining up and shooting. We decided on an escape mission, with the Attacker trying to get one `Mech to the DropShip.
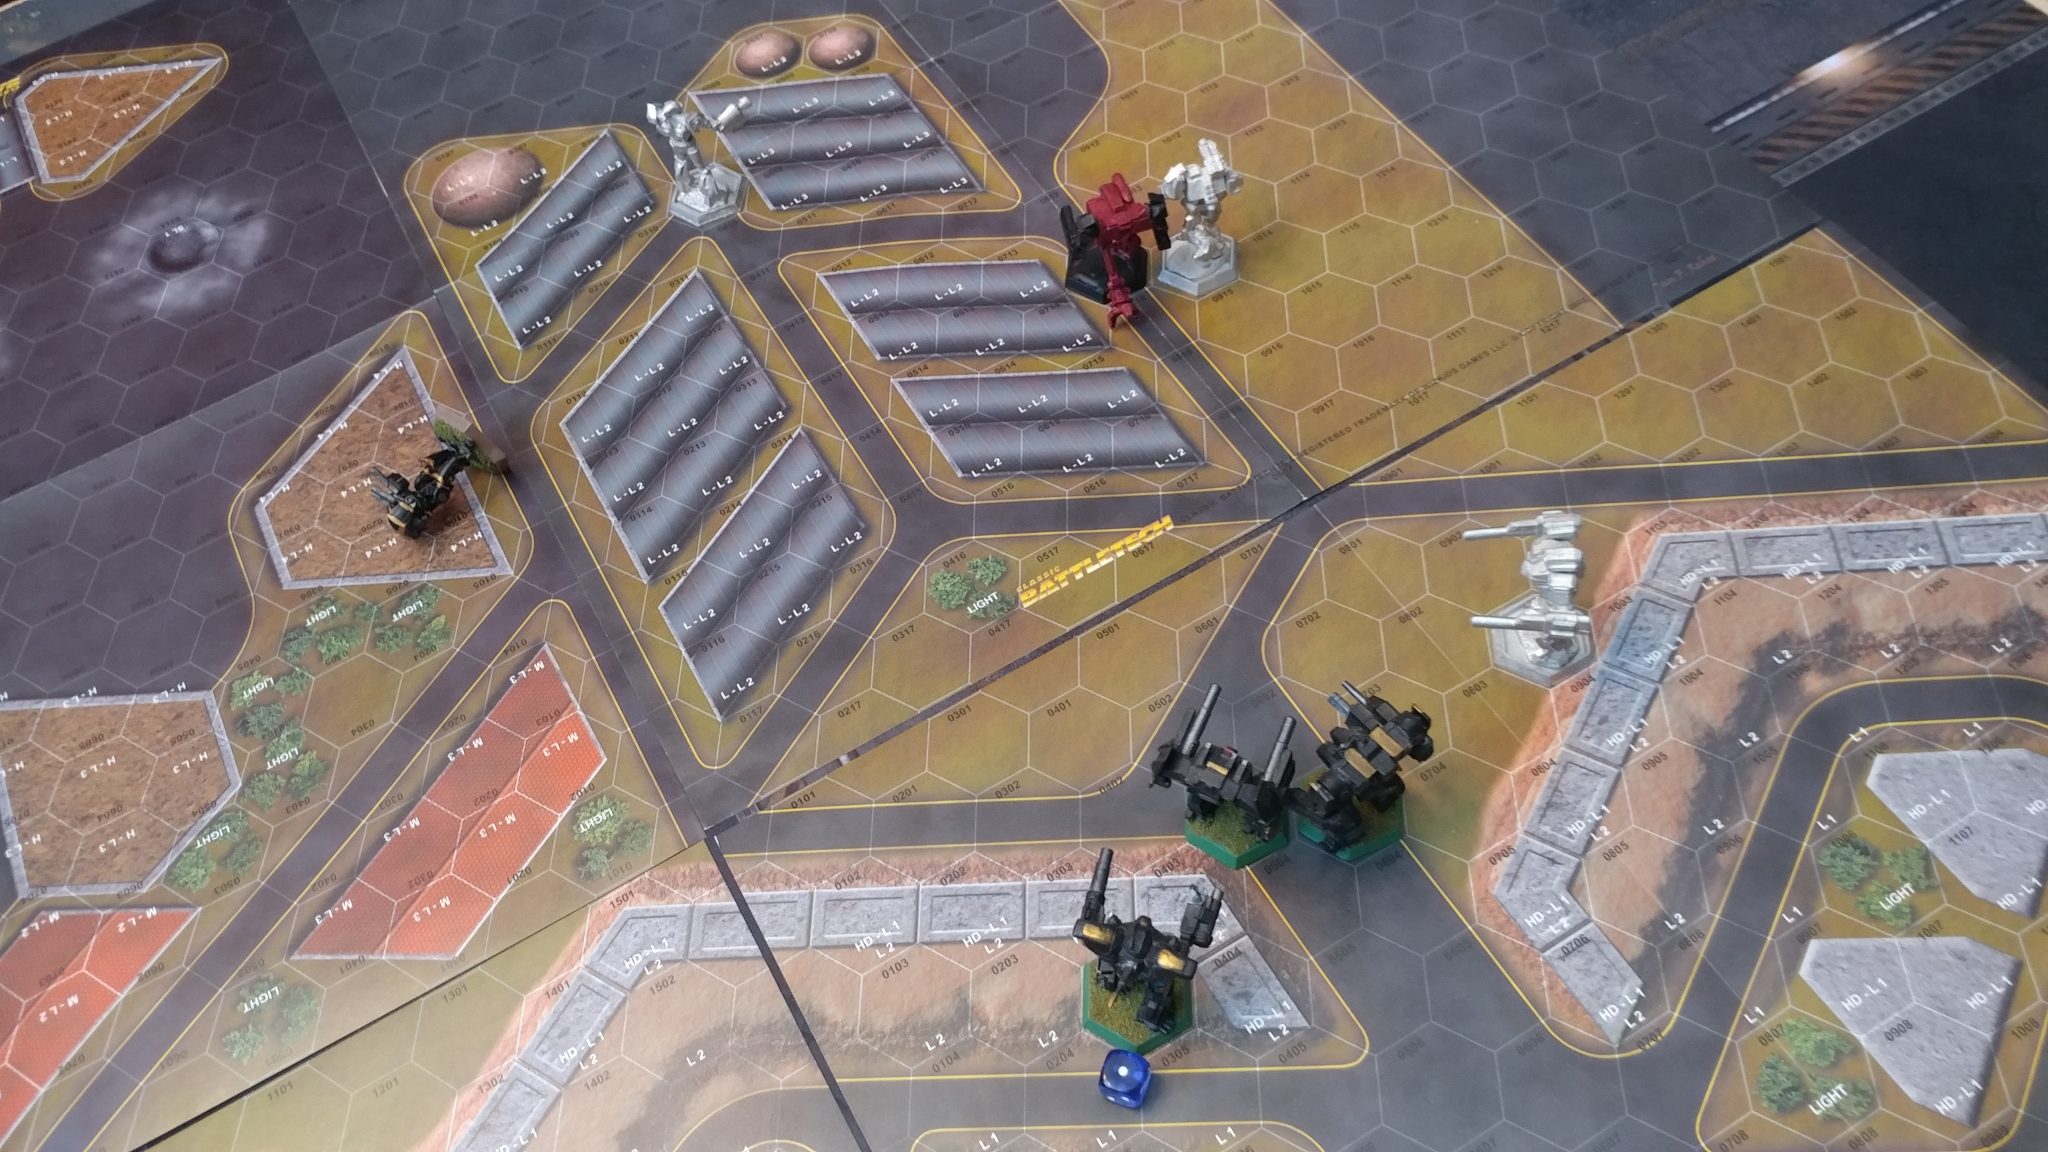
I rolled and won choice, and I set up as the Attacker.
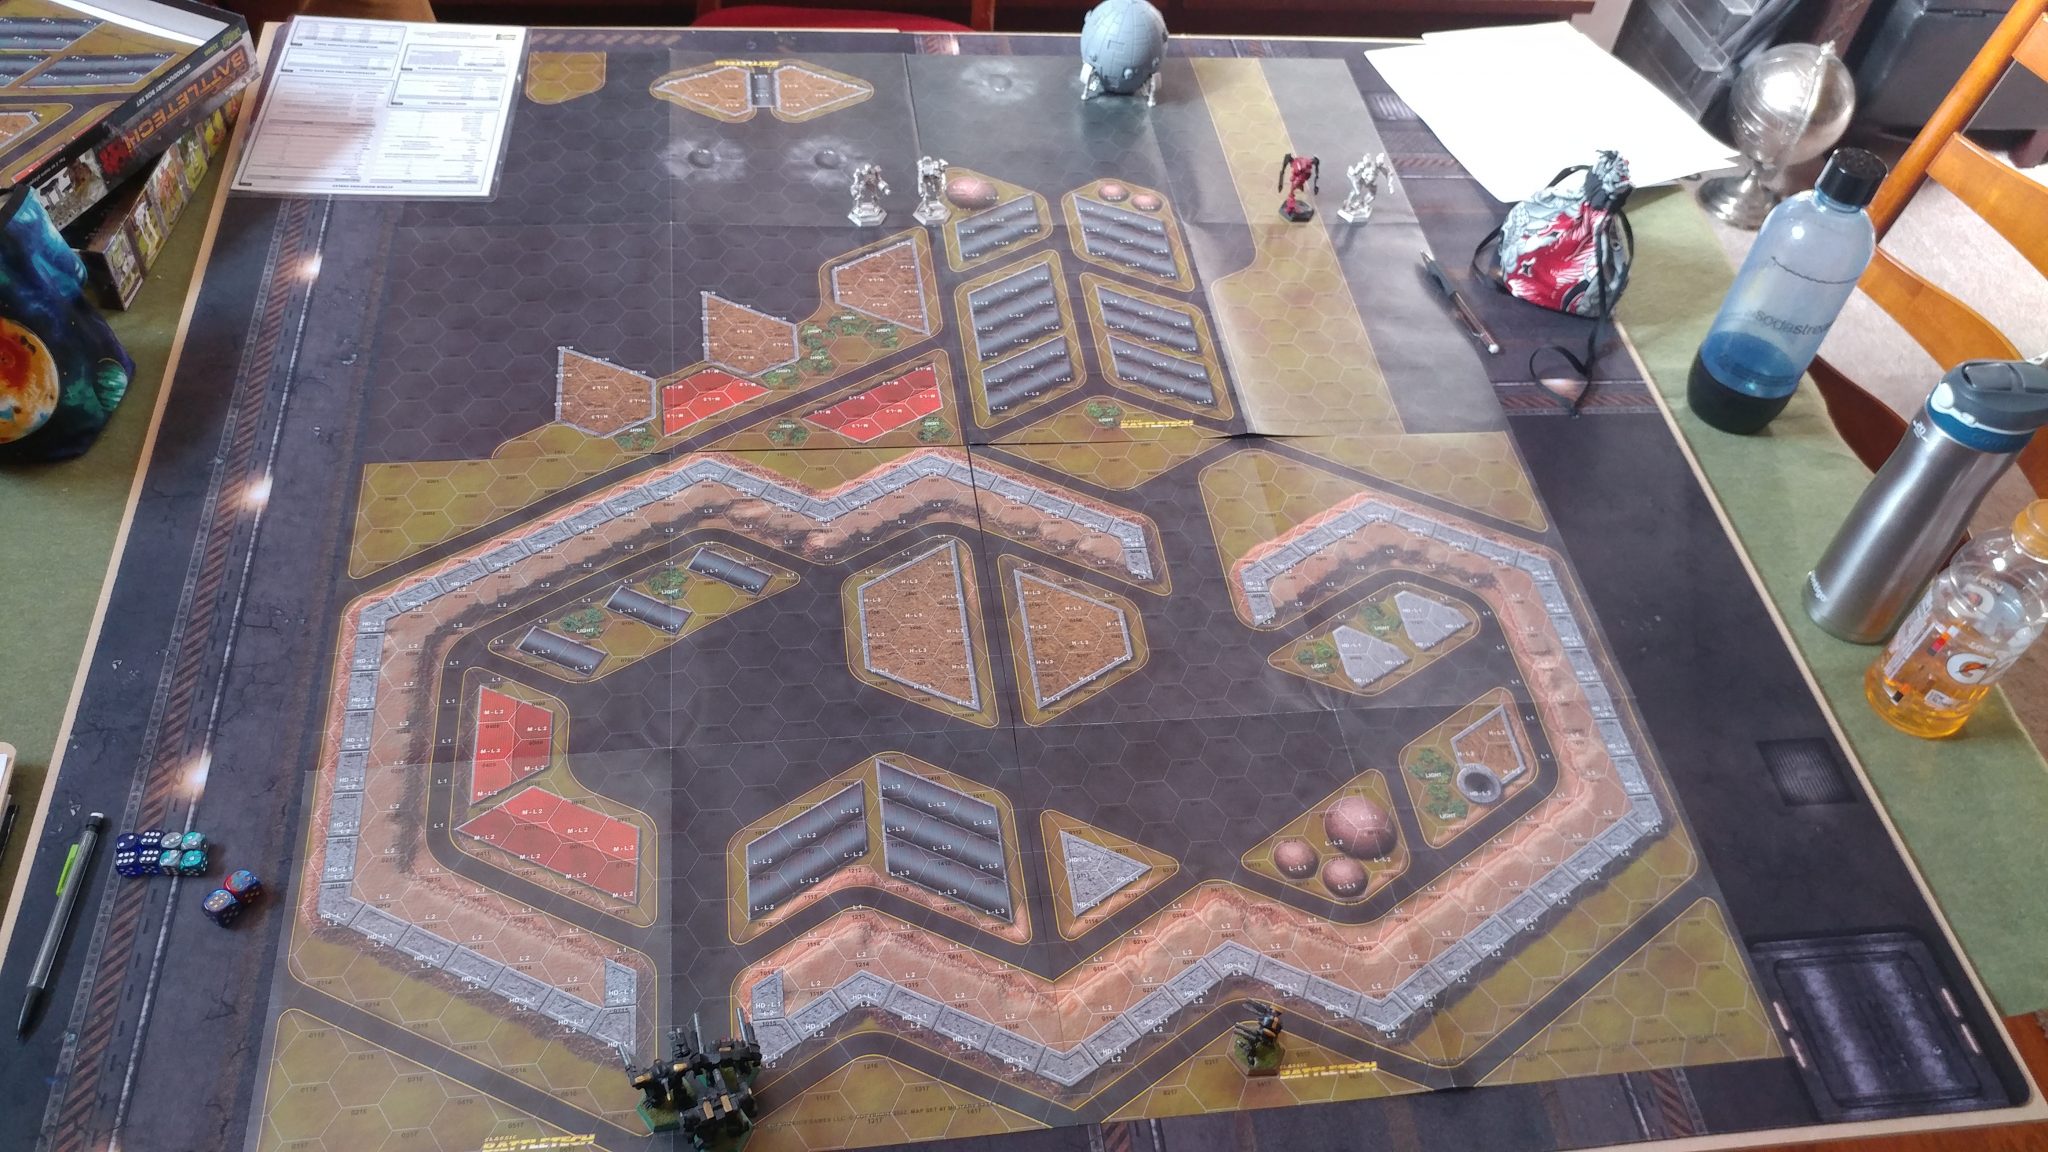
The Hastati Sentinels set up to make their way to the DropShip.
Round One
The opening round saw Initiative go to the FWL, as the Hastati Sentinels moved into the base section of the map. The FWL `Mechs broke into teams of two, with the Thunderbold and Crusader exchanging ineffective fire with the main Hastati group.
The Hastati Sentinels exchange ineffective fire with the FWL Mechs in Round One.
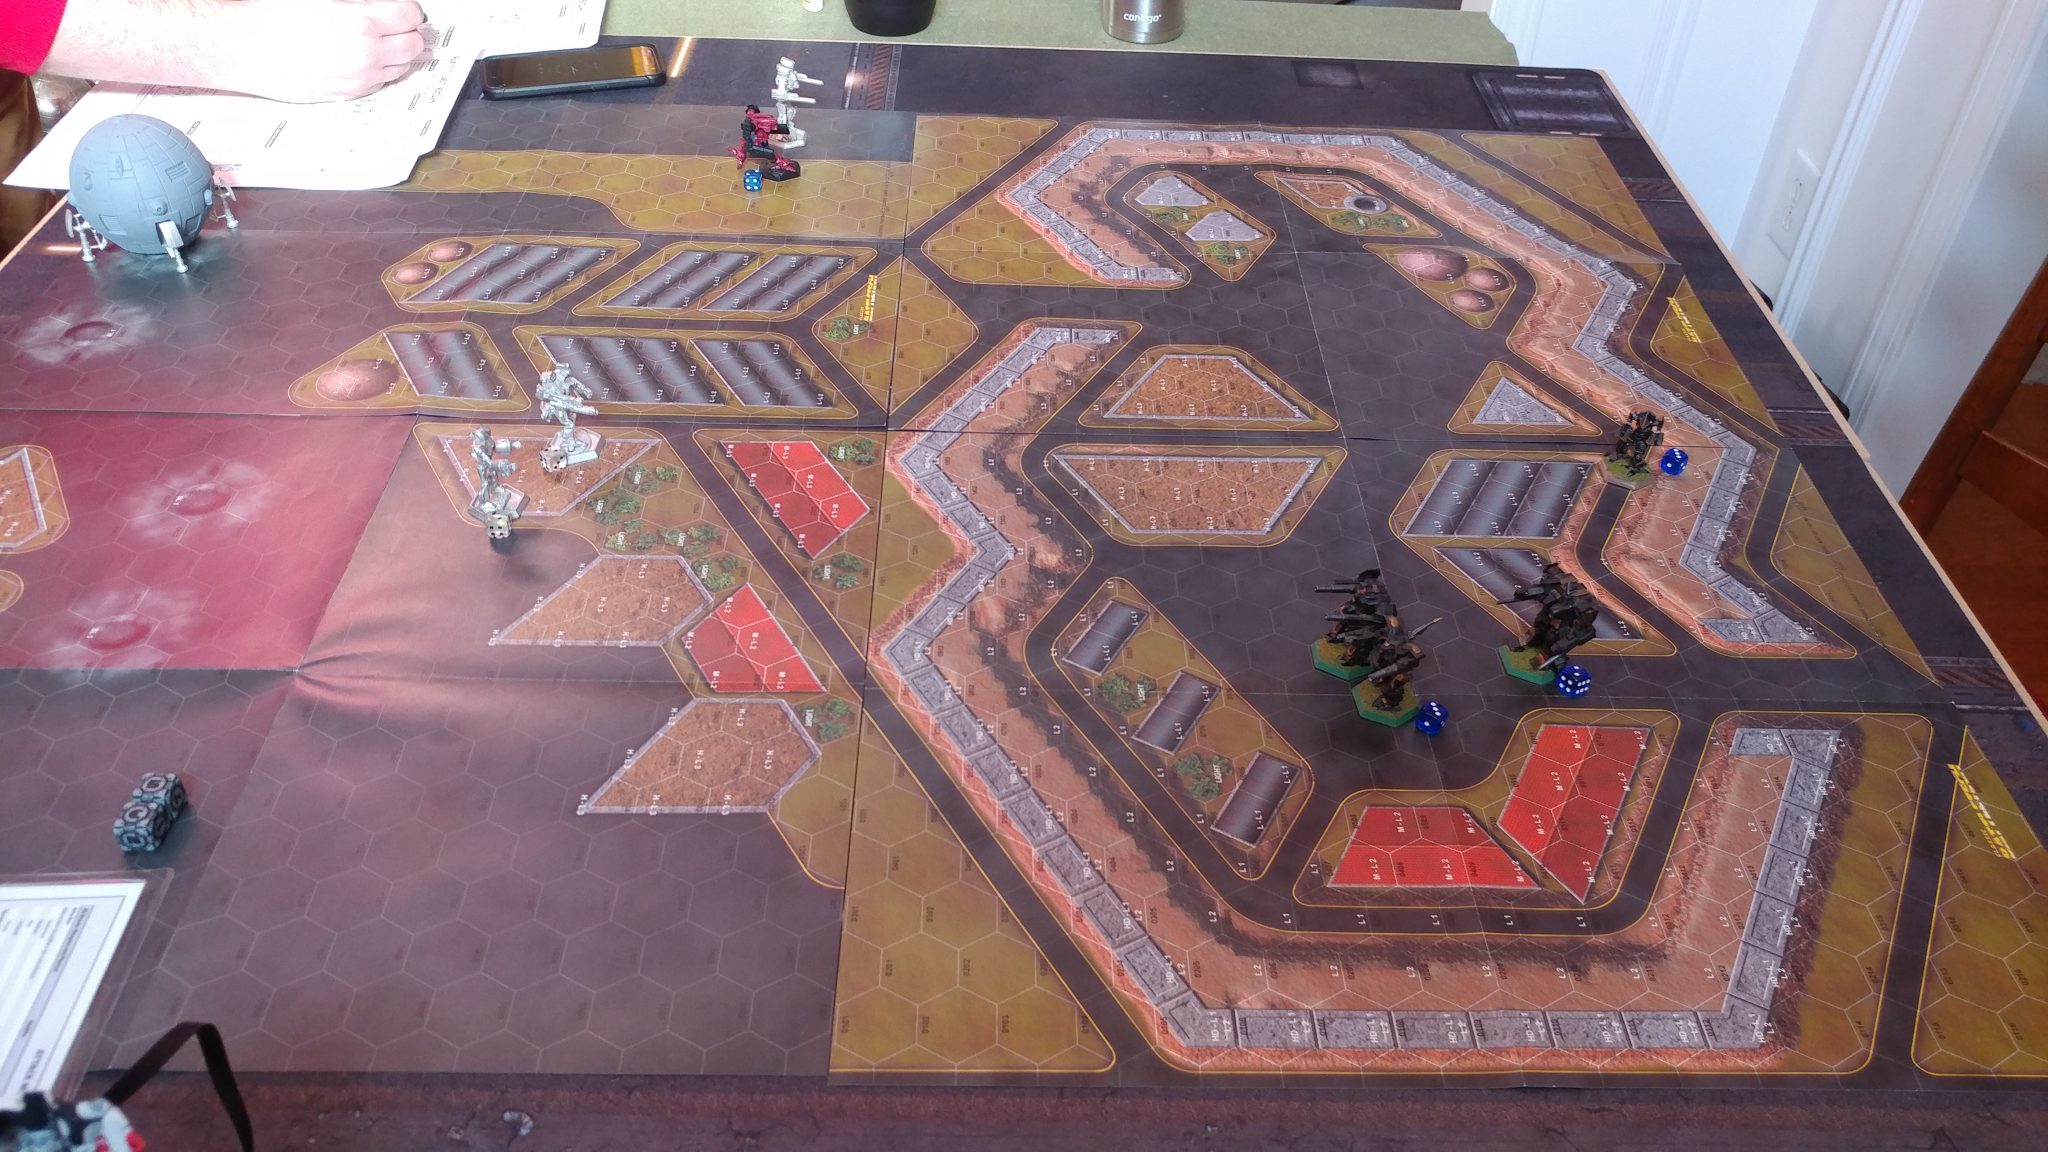
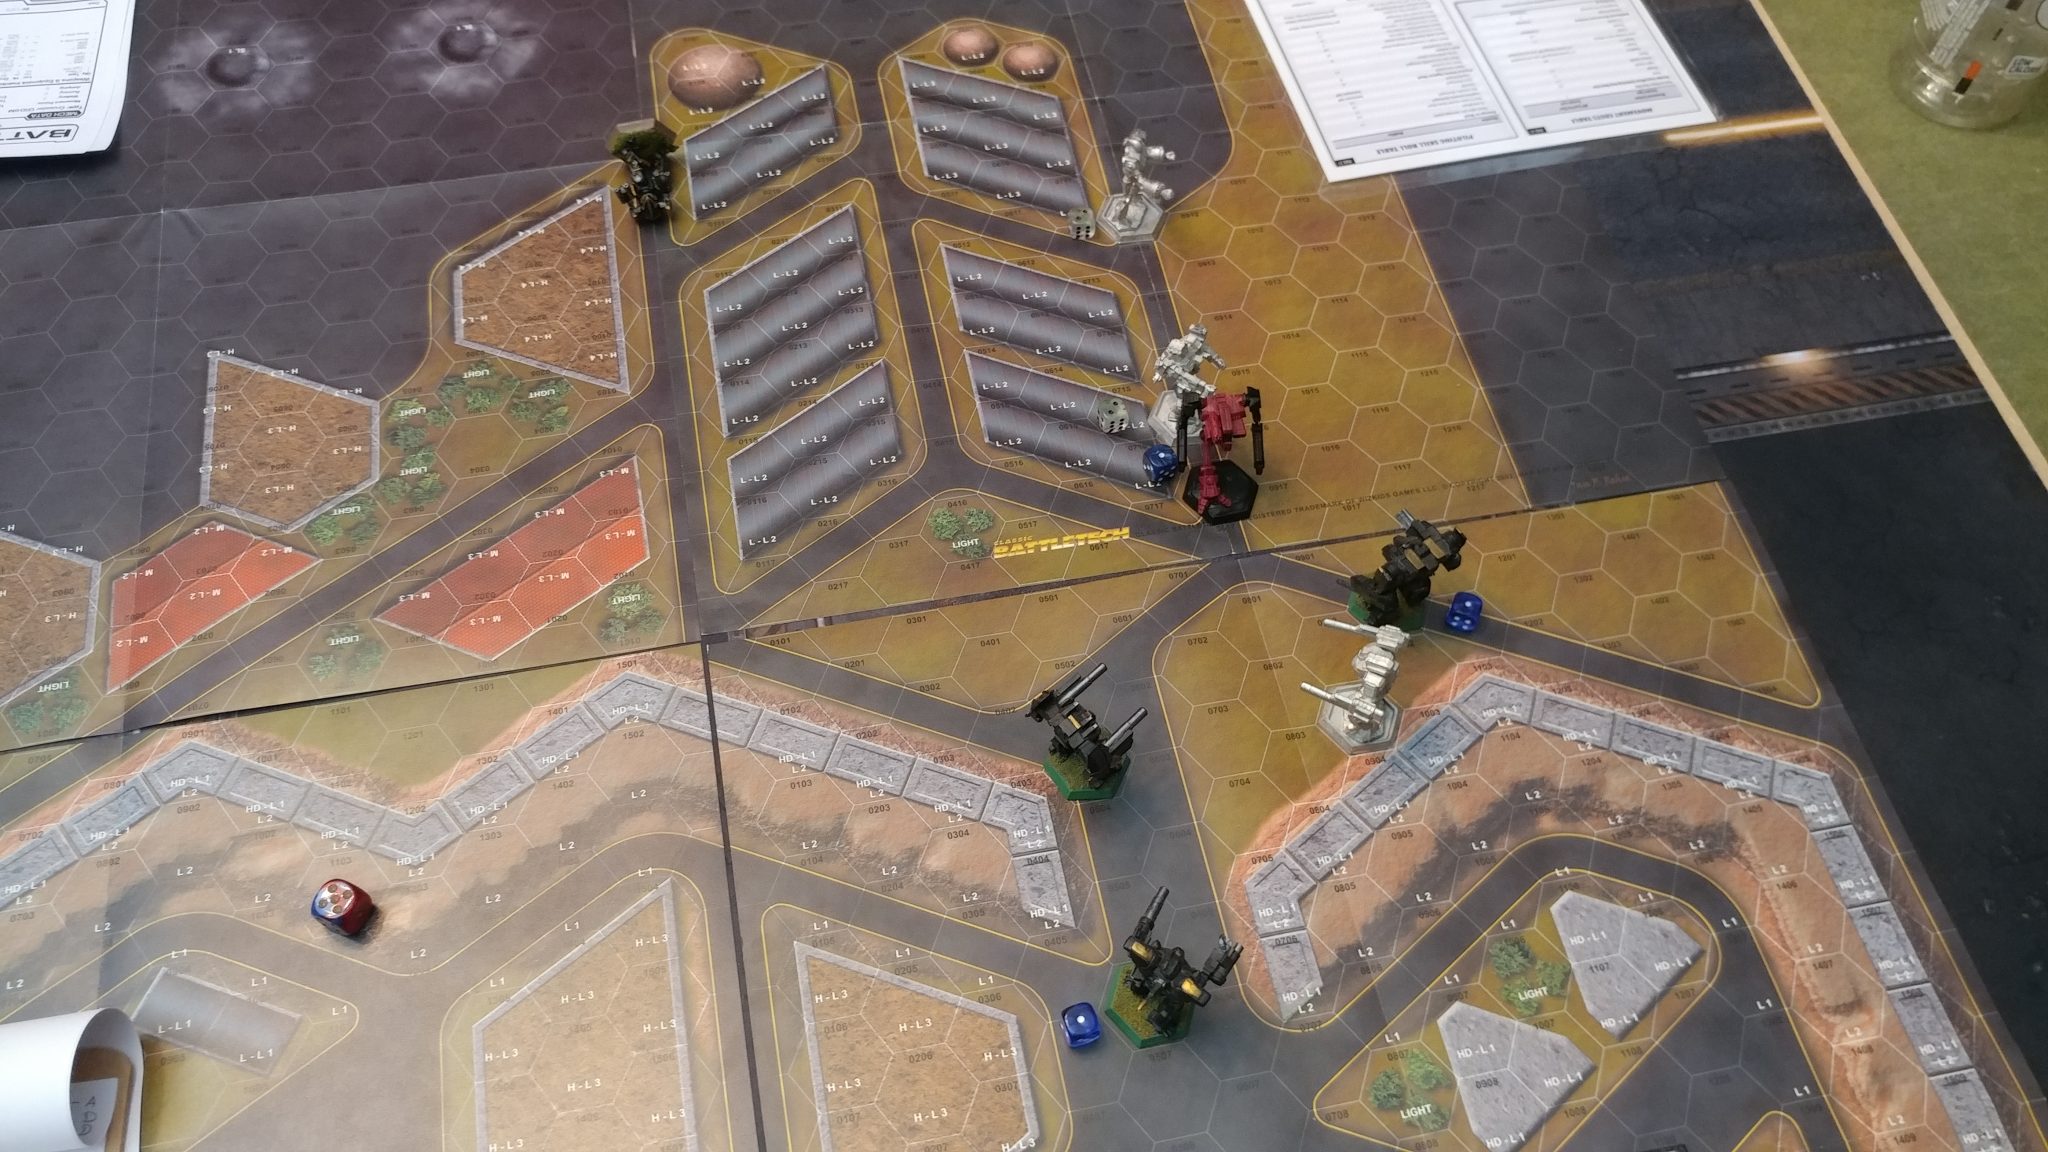
Round Two
Seizing the Initiative, the Hastati move forward into the base and begin the setup for their breakout moves. No fire is exchanged this round as the FWL `Mechs move to cover as many angles as possible.
The Hastati and FWL `Mechs hope to outmaneuver the other team in a round of no shots.
Round Three
Keeping the Initiative, the Hastati Sentinels pause to regroup, in yet another round of no shots fired. The FWL `Mechs, sensing a ruse, move to press into the base should the Hastati be up to something sneaky.

The tension is high as `Mechs on all sides seek an advantageous position.
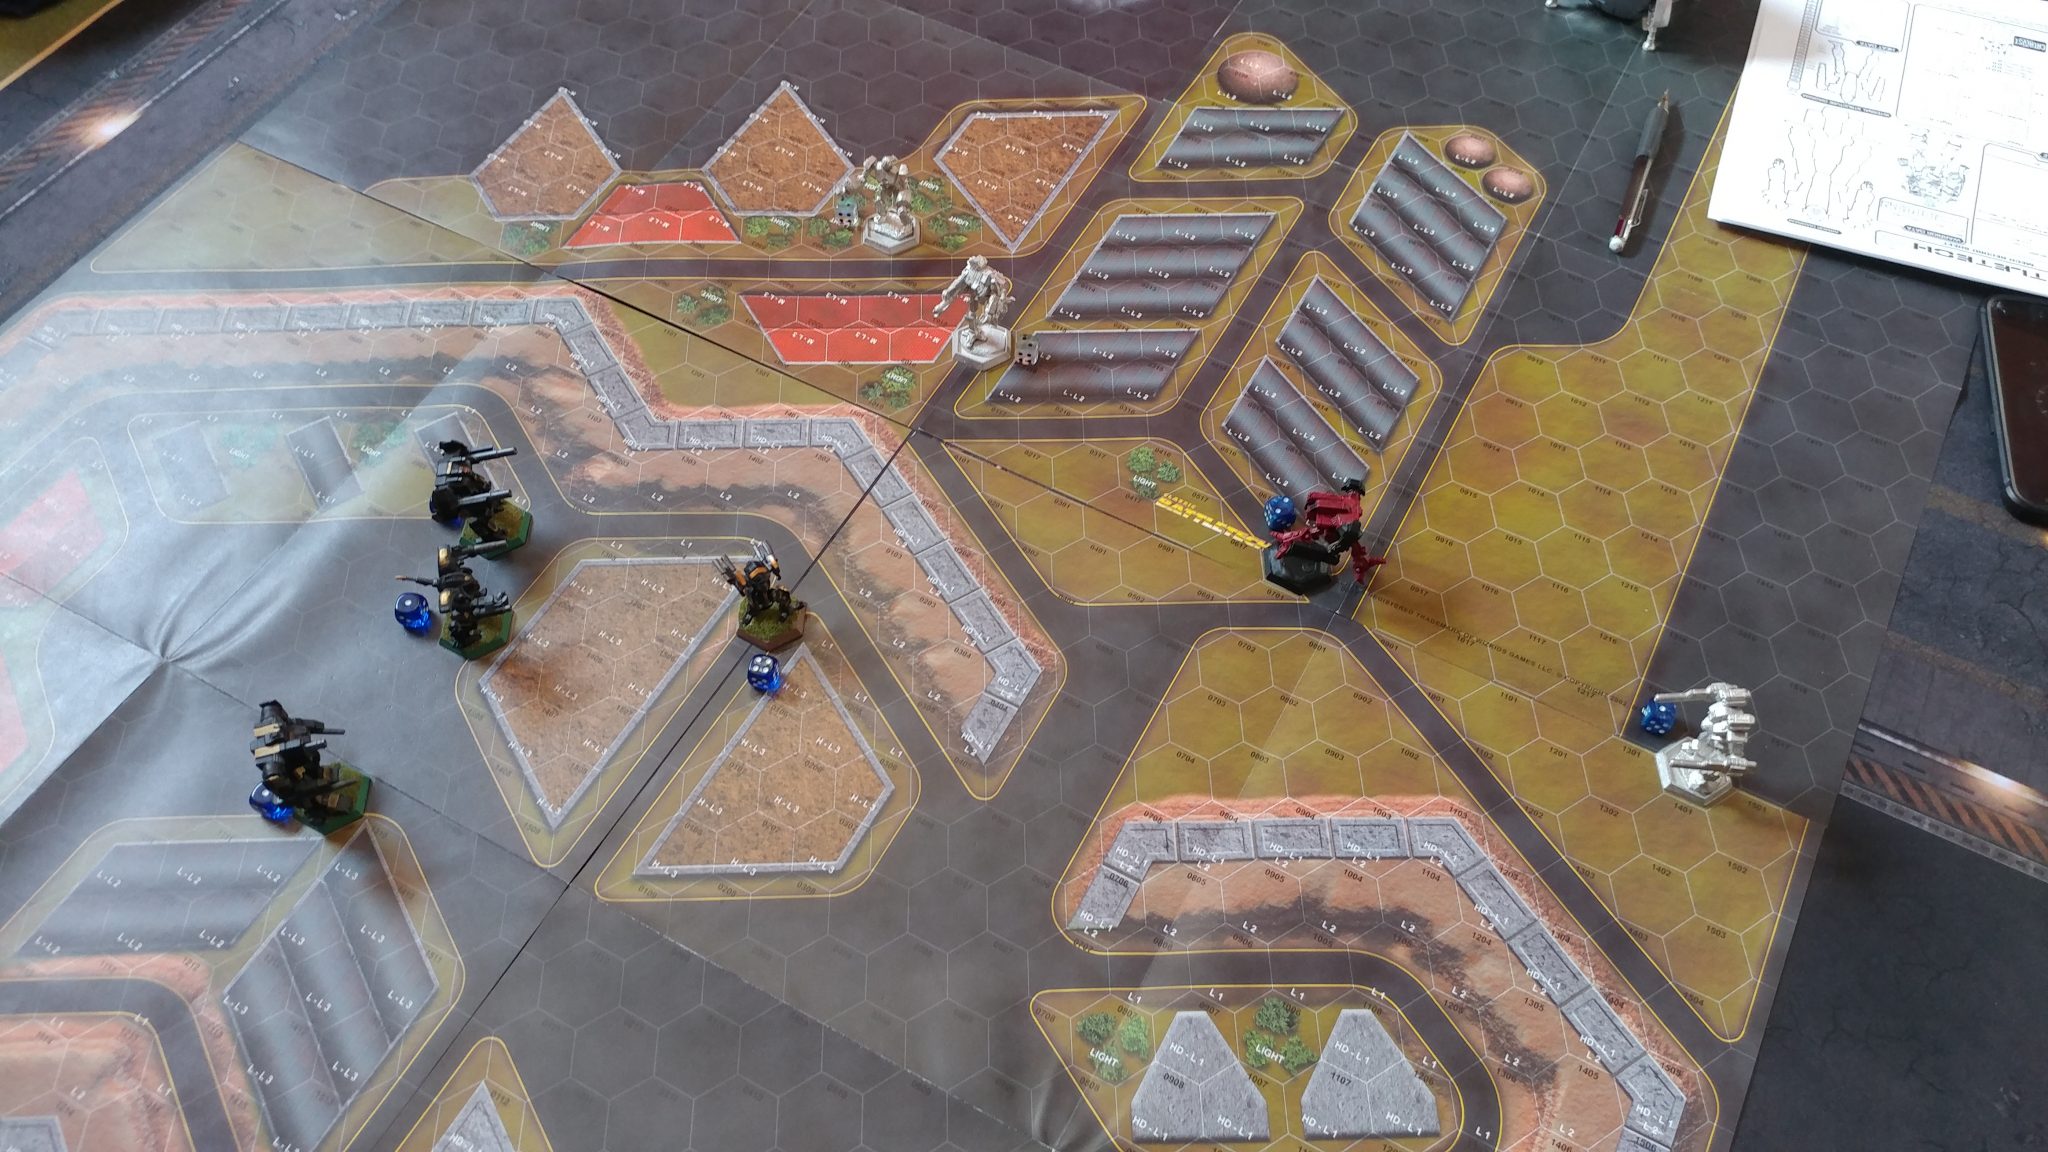
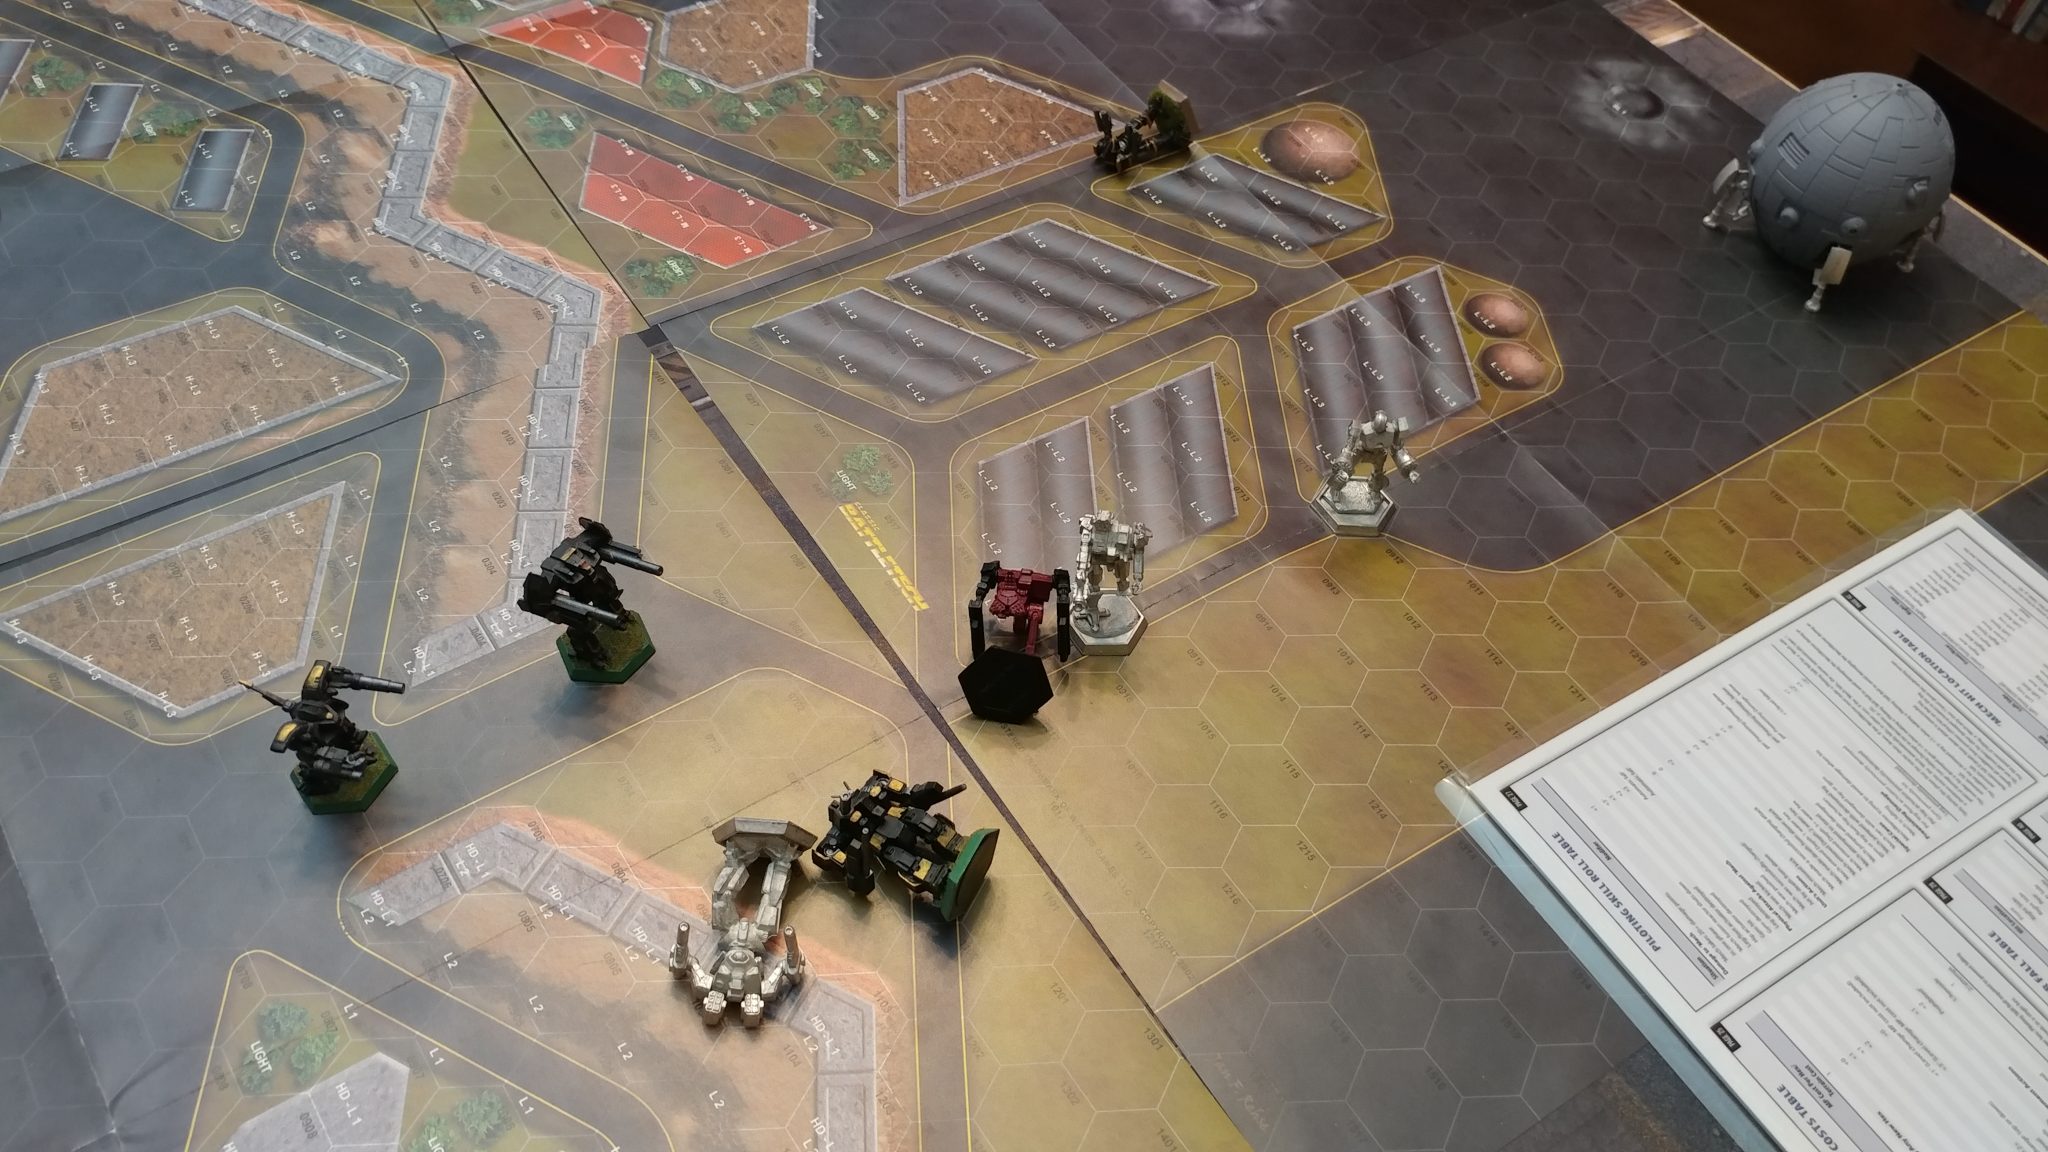
Round Four
Regaining the Initiative, the FWL is able to respond to a high stakes gambit employed by the Hastati, the Republic forces send the Havoc over the wall and try to throw the FWL forces off balance. The Doloire is able to help add to the maelstrom and the Lament and Prefect are caught trying to prevent the Thunderbolt and Crusader from vaulting the wall.
The result is mixed for both teams, with the Marauder and Havoc both taking heavy fire from enemy units.

The forces finally clash.
Round Five
The Hastati win back Initiative and push all-out, with the Havoc making a break for the DropShip, and the mission objective. The other Republic `Mechs move into support positions to attempt to cover their smaller friend’s run. The Lament and Doloire attempt to cripple the Warhammer that stands in their way, while the Prefect savages the Thunderbolt that has turned to give chase to the Havoc. Somehow, the already badly damaged, yet operational, Havoc avoids all incoming fire from the FWL Marauder.
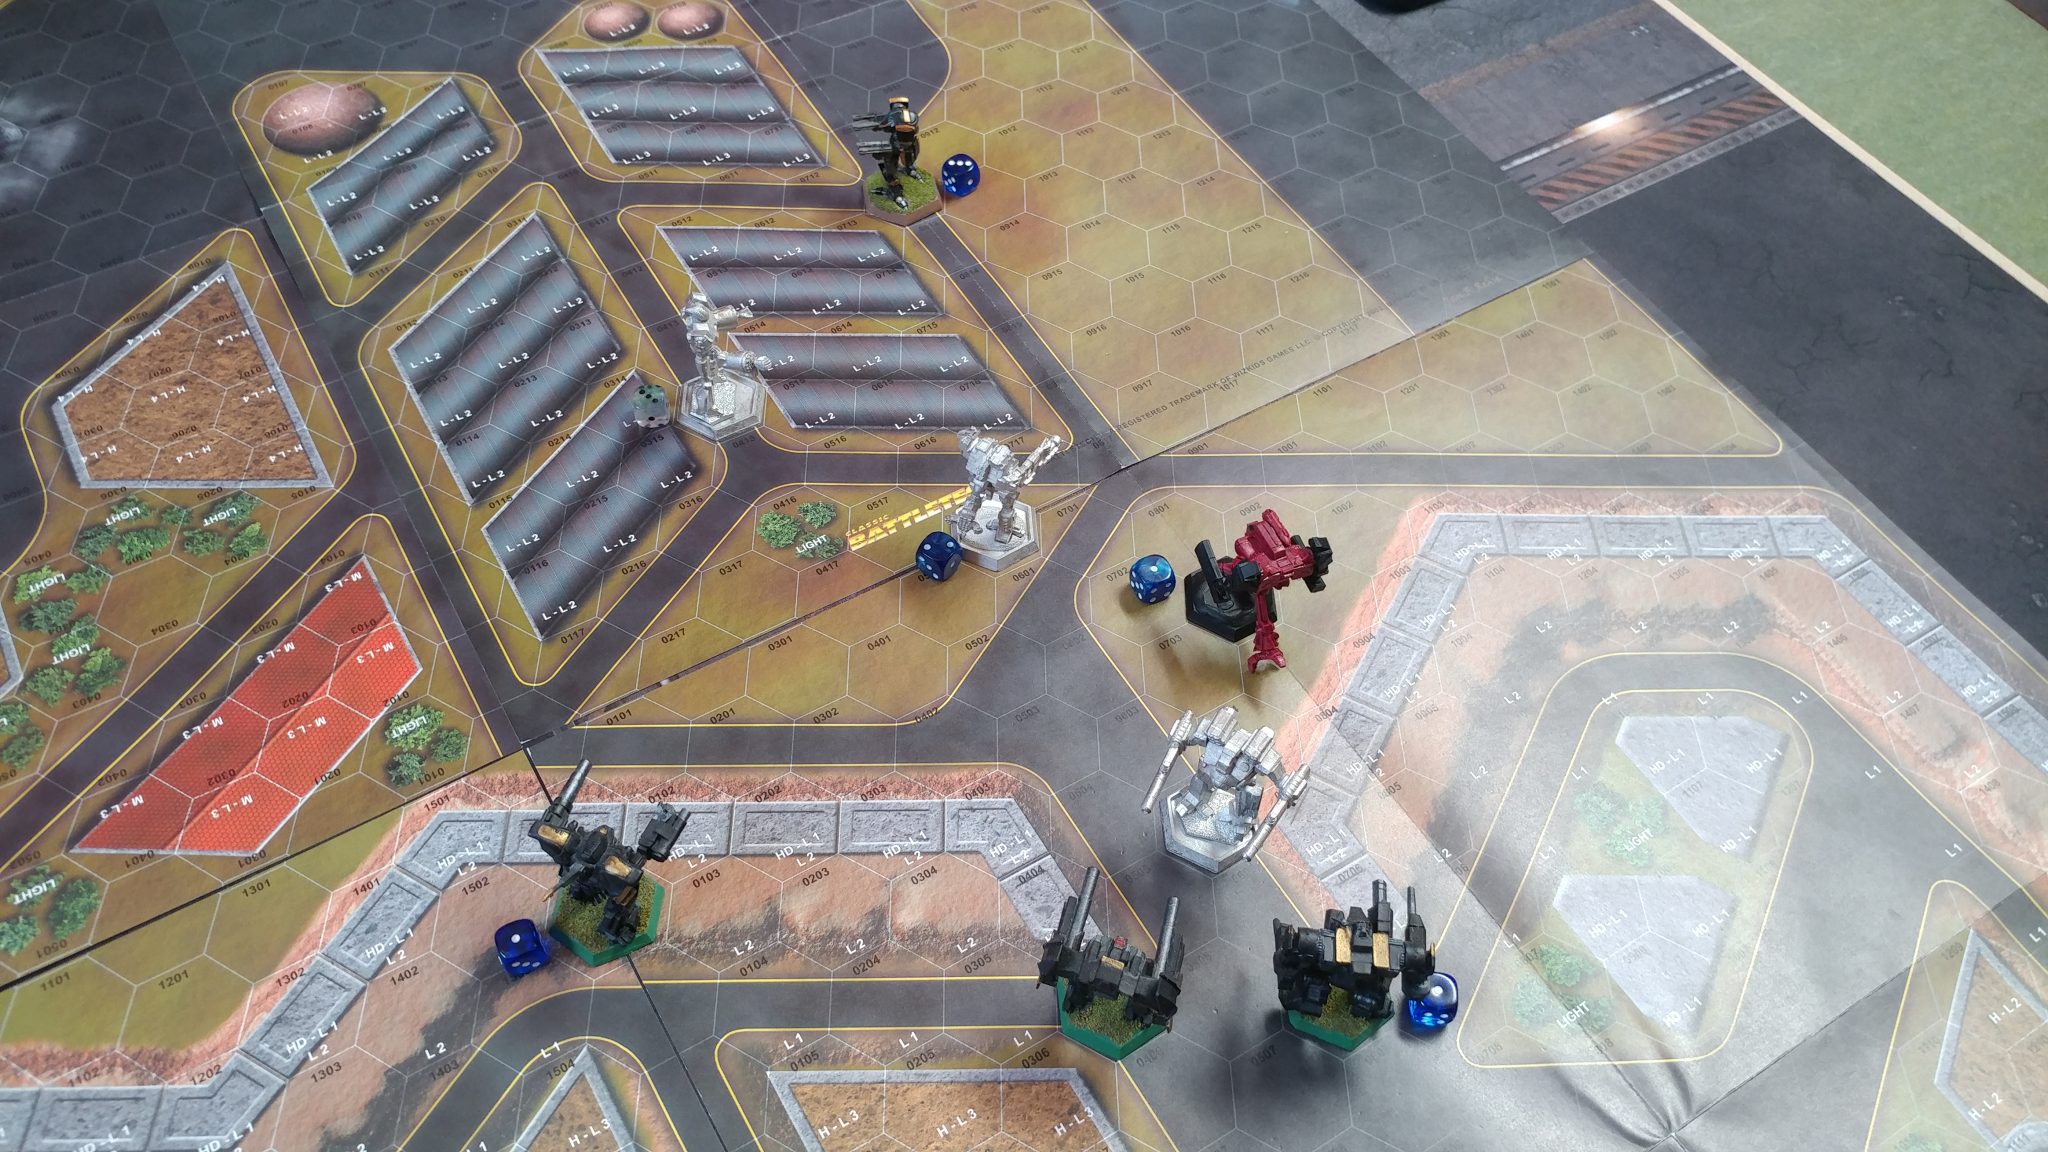
The Havoc makes a break for it.
Round 6
The Hastati retain Initiative and continue their push out towards the Drop Ship. Unfortunately, the paved roads are more of a hazard than the entire enemy team, and the Havoc careens into a Hardened Building at top speed. The damage is not favorable, leaving a side torso badly damaged and vital critical spots exposed. Fortunately for the Havoc, no enemy was able to take advantage of the calamity.
The FWL Warhammer was able to forestall the advancing Hastati heavy elements for a turn longer, refusing to go down despite taking a withering amount of incoming fire.
With the Havoc down but not out, the Hastati continue to push the FWL `Mechs to try to gain a numbers advantage.
Round Seven
Tragedy struck twice in a row for the Hastati Sentinels, as the Havoc was able to stand and make another break for the DropShip. However, fate was against the pilot that day, as one slippery patch of asphalt saw the Havoc taking another dive, landing on its already badly damaged torso, and crushing the XL Engine in the process. The Havoc was permanently out of the fight and unable to win it for the Hastati, making it a 4v3 in favor of the Free World League.
With the Havoc a non-issue, the FWL turned to attempt to down the biggest threat on the field, the deadly Doloire OmniMech.
Havoc no more! Now outnumbered, the Hastati must defeat a numerically superior force.
Round Eight
The Free Worlds League wins back the Initiative for the first time in four rounds and is able to press the numbers advantage into the Hastati Sentinels, making the Republic forces adopt a slightly defensive stance.
Despite a heroic last stand, the focus-fired Doloire is unable to withstand the amount of firepower coming from all directions, and it goes down in a ball of fire and laser blasts. Trying not to make their companion’s sacrifice count for something, the Lament and Prefect are able to down both the Warhammer and Marauder, with the Warhammer‘s Center Torso completely vaporized by Heavy PPC fire. The Marauder, however, is not out of the fight just yet.
The Warhammer finally falls, and the Doloire joins the Havoc as the Hastati Sentinels are now outnumbered 2v3.
Round Nine
The Free Worlds League kept the initiative, but the Hastati Sentinels had no choice but to press the attack. Downing the Thunderbolt, the Prefect managed to help even the odds even as the Lament exchanged fire with both the Marauder and the Crusader.
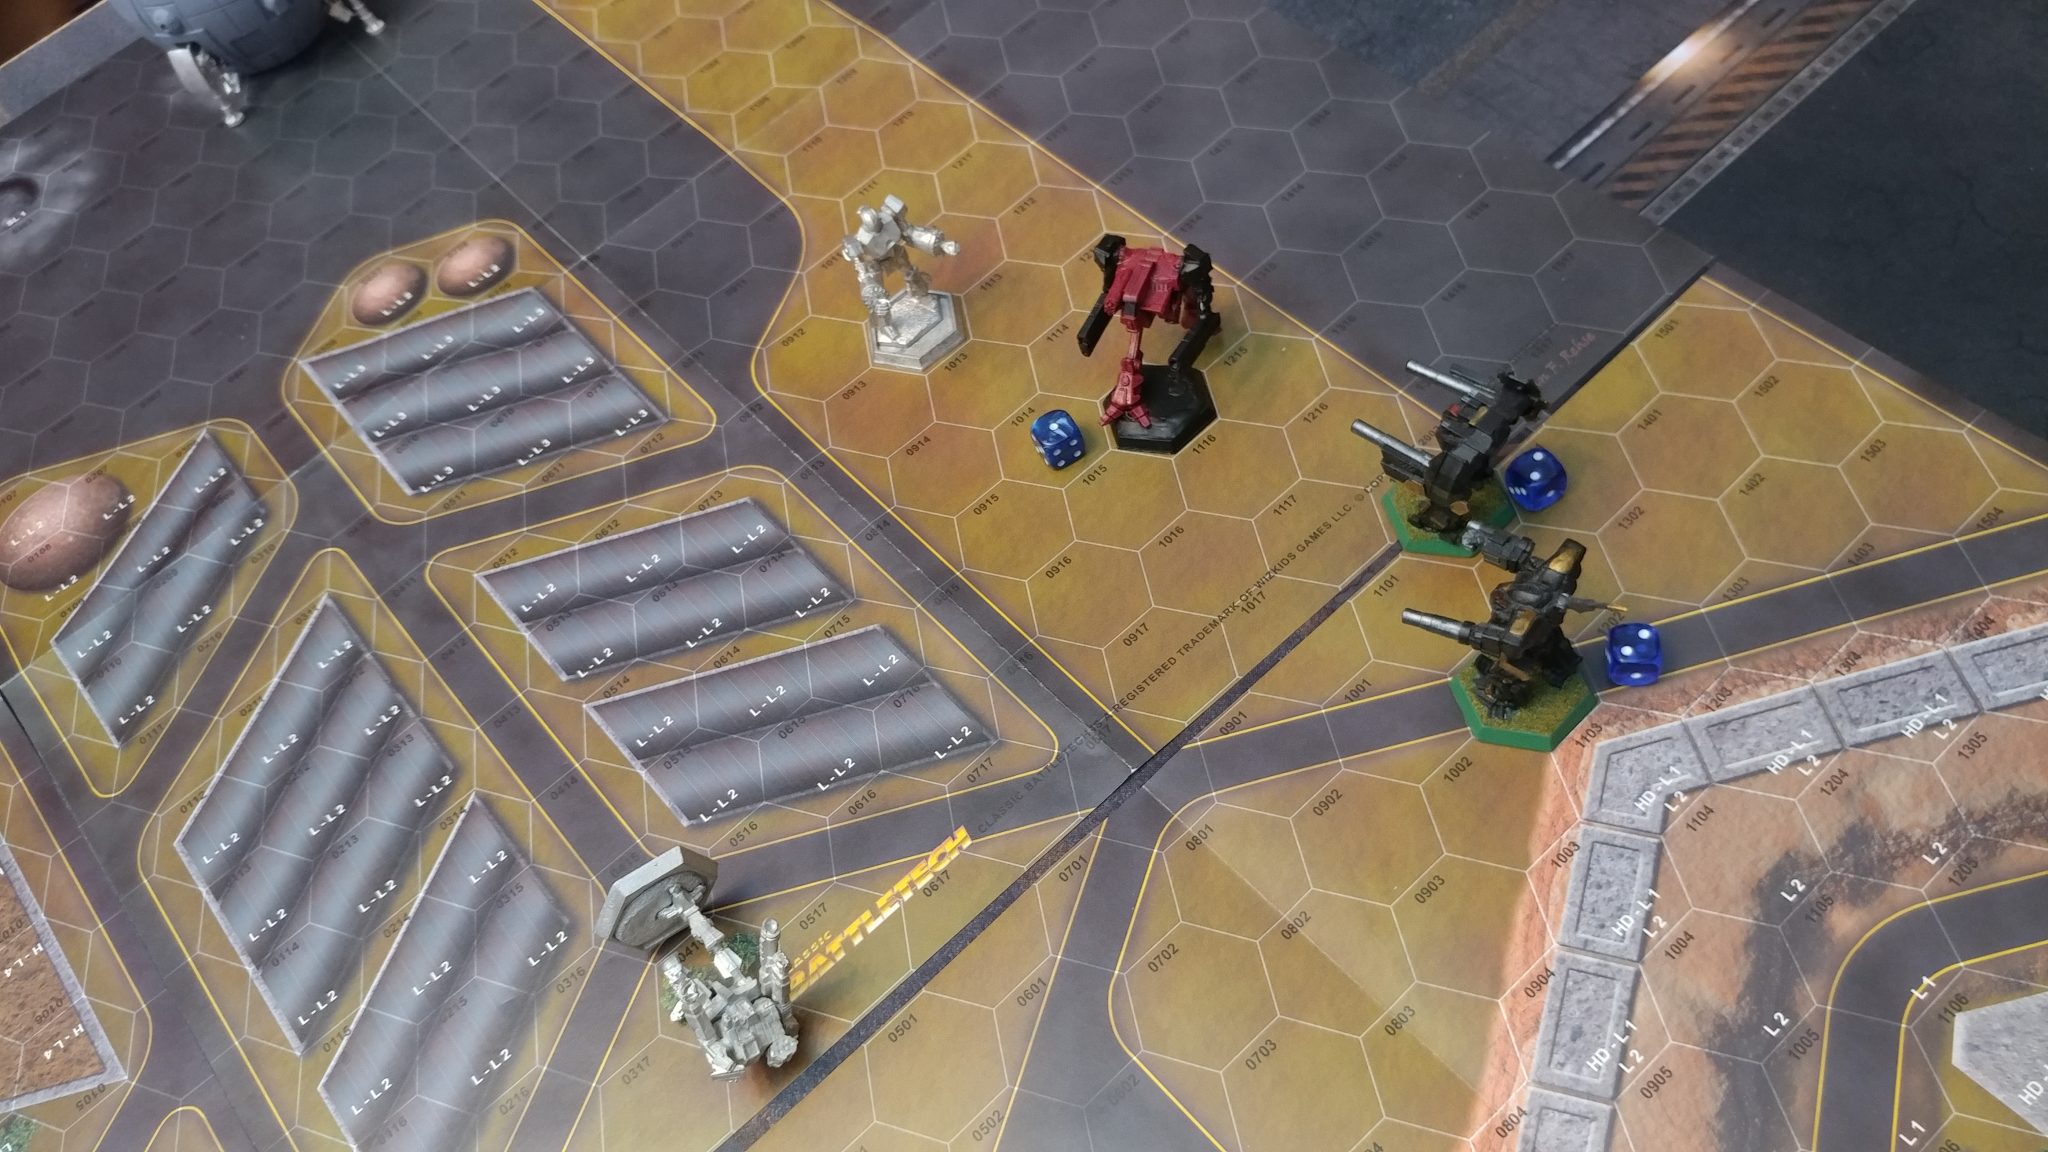
The Prefect manages to down the Thunderbolt as the Lament tries to finish off the Marauder.
However, not all goes as planned for the Hastati Sentinels, as the combined return fire from the Marauder and Crusader score an unprecedented three head hits in a single round! The Lament sags to a stop as the pilot is dead in his cockpit. Well, what’s left of the pilot, anyway.
Faced with the horrible reality that the rest of his Lance is out of the fight, the Prefect surrenders, and the Free Worlds League wins by preventing any of the Republic forces from reaching their DropShip.

Alone on the battlefield, the Prefect surrenders to the Free World League Rabble.
Wrap Up
Some astute observers out there will notice that it was actually the Hastati Sentinels who had a distinct BV2 advantage in this matchup.
Discussing the game afterward, we agreed that the turning point was obviously the three head hits on the Lament in a single turn of weapons fire. The Lament and Prefect had more than a fair chance of defeating the remaining FWL BattleMechs before that happened.
What a fun game!
There’s no telling what will happen when the dice start rolling, and this game is a great example of that.
The Hastati Sentinels now have a new grudge to settle in future games, and hopefully, the Free Worlds League Rabble will have a paint scheme to show off for the next game.
So that’s it for BattleTech action for now. I can’t wait to hit the tabletop again and report on the next game.
Until next time, MechWarriors, don’t forget that no fight is decided as long as dice can still be rolled!
Want to learn more about BattleTech? Start Here:
Classic BattleTech Universe Book
BattleTech: BattleMech Manual
BattleMech Models from IronWind Metals
Fantastic write up. I miss being able to do battles like these!
OK i want the map where did you get it
Beautiful. Just, beautiful!