Operation Flashpoint Gallery
Sarna News
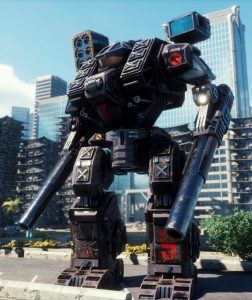

<gallery> Image:Operation Flashpoint (1).jpg|Illustration by Storn Cook Image:Operation Flashpoint (2).jpg|Illustration by Matthew Plog Image:Operation Flashpoint (3).jpg|Illustration by Matthew Plog Image:Operation Flashpoint (4).jpg|Illustration by Matthew Plog Image:Operation Flashpoint (5).jpg|Illustration by Matthew Plog Image:Operation Flashpoint (6).jpg|Illustration by Matthew Plog Image:Operation Flashpoint (7).jpg|Illustration by Matthew Plog Image:Operation Flashpoint (8).jpg|Illustration by Matthew Plog Image:Operation Flashpoint (9).jpg|Illustration by Christina Wald Image:Operation Flashpoint (10).jpg|Illustration by Christina Wald Image:Operation Flashpoint (11).jpg|Illustration by Christina Wald Image:Operation Flashpoint (12).jpg|Illustration by Christina Wald Image:Operation Flashpoint (13).jpg|Illustration by Brad K. McDevitt Image:Operation Flashpoint (14).jpg|Illustration by Scott James Image:Operation Flashpoint (15).jpg|Illustration by Brad K. McDevitt Image:Operation Flashpoint (16).jpg|Illustration by Brad K. McDevitt Image:Operation Flashpoint (17).jpg|Illustration by Brad K. McDevitt Image:Operation Flashpoint (18).jpg|Illustration by Storn Cook Image:Operation Flashpoint (19).jpg|Illustration by Storn Cook Image:Operation Flashpoint (20).jpg|Illustration by Storn Cook Image:Operation Flashpoint (21).jpg|Illustration by Storn Cook Image:Operation Flashpoint (22).jpg|Illustration by Storn Cook Image:Operation Flashpoint (23).jpg|Illustration by Matt Plog Image:Operation Flashpoint (24).jpg|Illustration by Storn Cook Image:Operation Flashpoint (25).jpg|Illustration by Matt Plog Image:Operation Flashpoint (26).jpg|Illustration by Scott James Image:Operation Flashpoint (27).jpg|Illustration by Storn Cook Image:Operation Flashpoint (28).jpg|Illustration by unknown artist