Late in 2017, I took a good look through the unassembled and unpainted BattleTech models in my collection, and I came to a decision about something I really wanted to see in 2018.
One of my favorite parts of the BattleTech universe and game is Battle Armor, and I have collected a ton of it. But I have relatively little of it put together, and even less of that painted. Long story short, I spent some time evaluating what I wanted to do about it, and decided that 2018 would be known as the “Year of Battle Armor”.
Fast forward to half way through February, and I realized that I had not yet started into my plans for the year. January got swallowed up by so many other things that I almost completely forgot about my ambitious goal.
Developed by Clan Star Adder, the Corona Heavy Battle Armor was one of the first non-standard Battle Armors produced during the Clan Invasion.
So, I did something about it. And here we are, in the first article of the Year of Battle Armor series. This year (2018), I plan to complete 2-3 Battle Armor centric projects per month and write here about the progress of each project and the year as a whole. I also hope that many of the units I complete during the YoBA will in turn show up in my BattleTech battle reports, so we should get to see follow ups on how the units are being used after they are completed here.
So, introduction of mission completed, how about I introduce the first unit for the Year of Battle Armor, the Corona Heavy Battle Armor!
Rather than give an overview of the history of the Corona, you can click on the link just above to visit the Sarna article, which says most of what I would repeat here anyway.
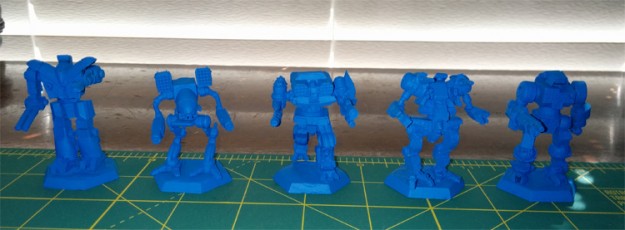
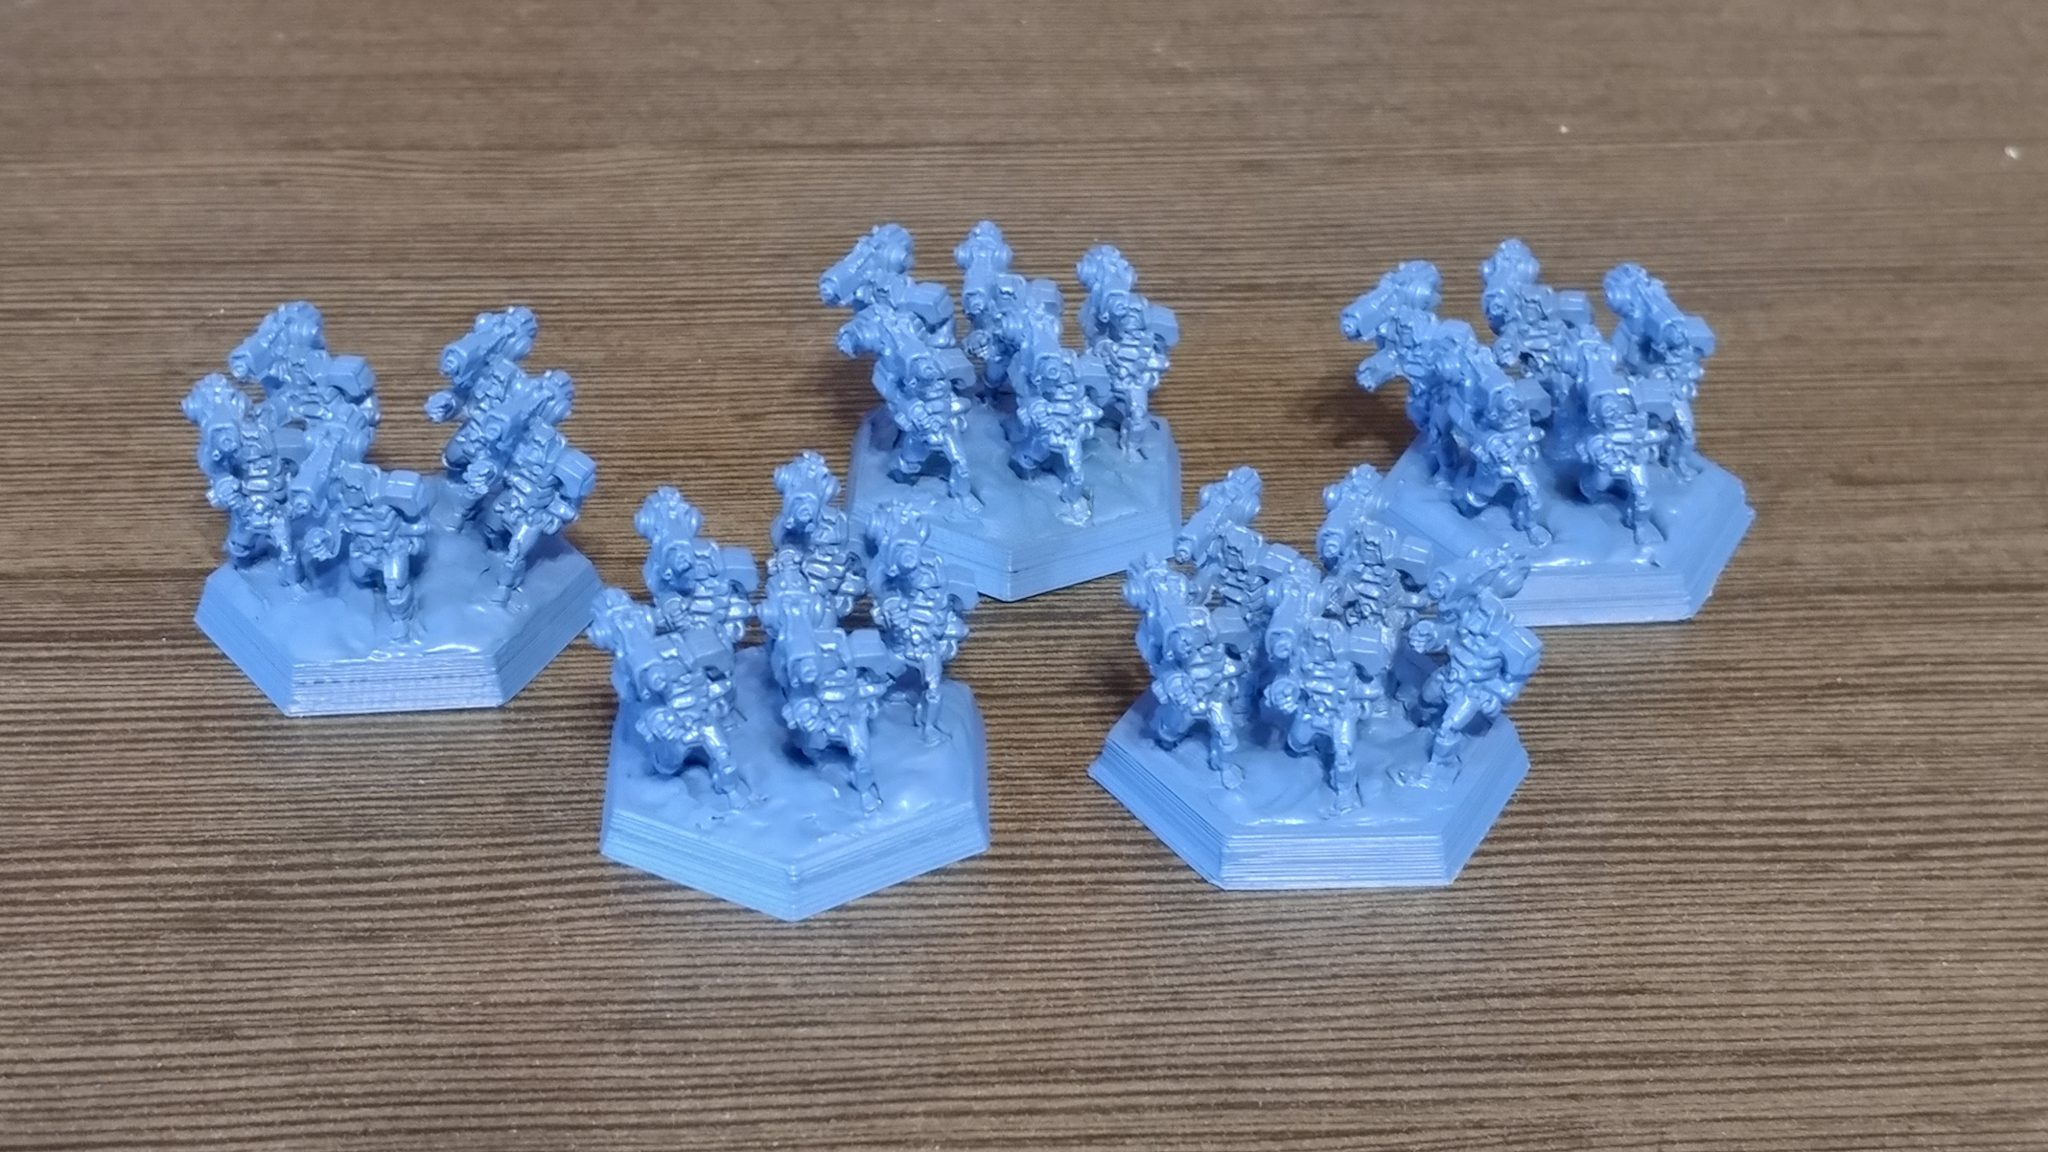
Step 1 – Line ‘Em Up
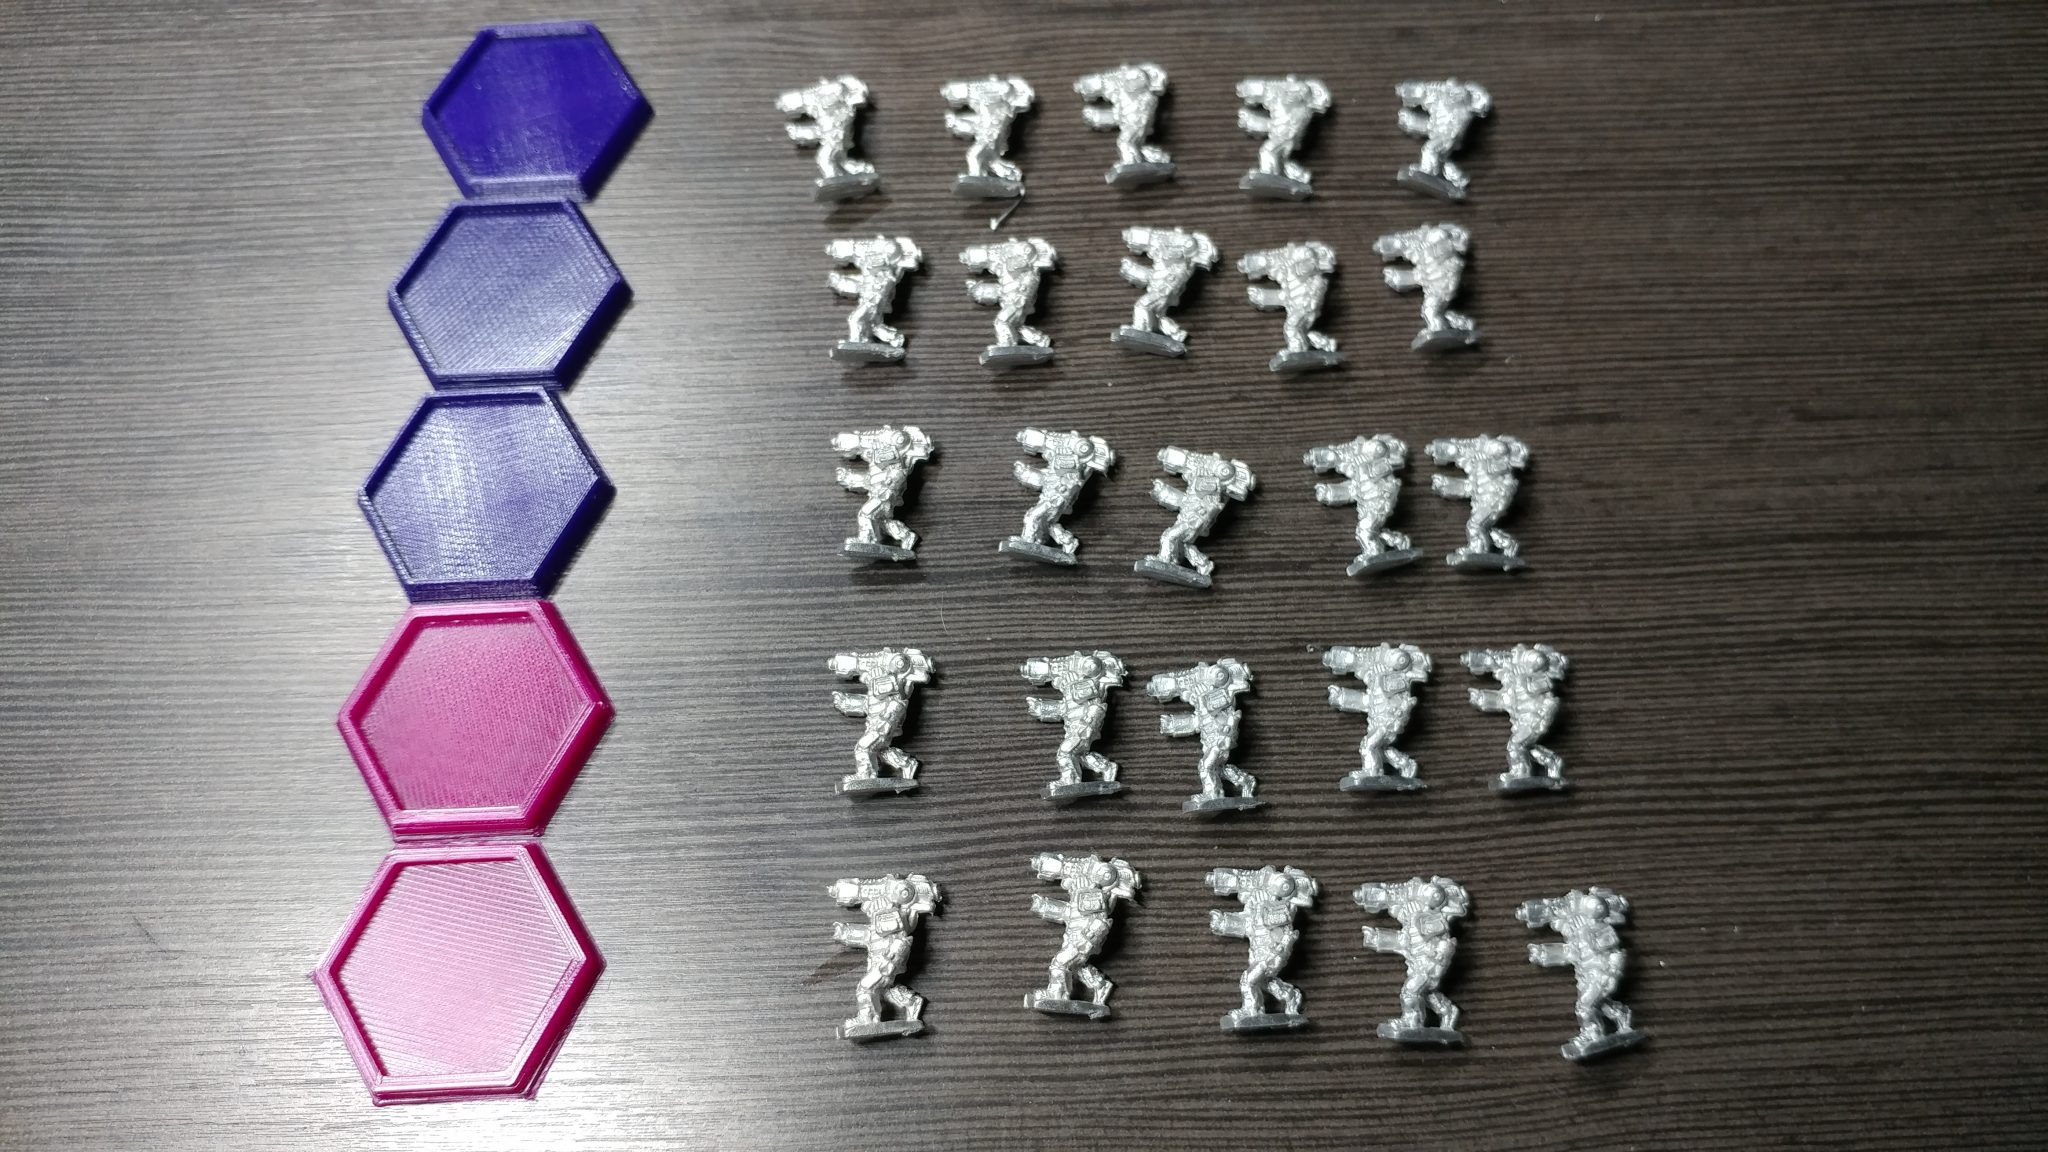
25 Corona suits, ready to form up.
I chose the Corona as the first unit for YoBA for a couple of reasons. I believe that it is a great suit of battle armor that I think gets overlooked, even when compared to others of the underused specialty Clan battle armors. I think this is in part due to the when the Corona was released in the game, in TRO: 3075. During that era of the game, while the Wars of Reaving were reshaping the landscape of the Clan Homeworlds, the majority of people, both in-universe and players, was focused on the Jihad. This may have led to the Corona going a bit unnoticed, especially compared to other battle armors in that TRO, like the Clan Medium Battle Armor and Golem Assault Armor, which got to participate directly in the Jihad. While the Corona did migrate into the IS Clan General list during this time, most Clans just did not incorporate it in any meaningful way.
And since my primary faction is Clan Ghost Bear, of course this unit is joining my favorite Clan.
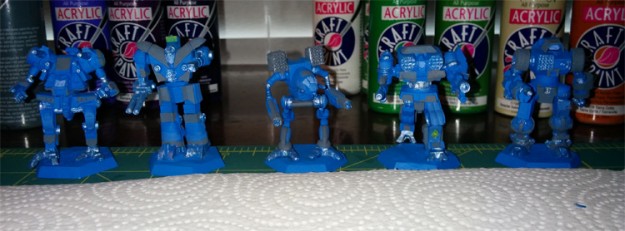
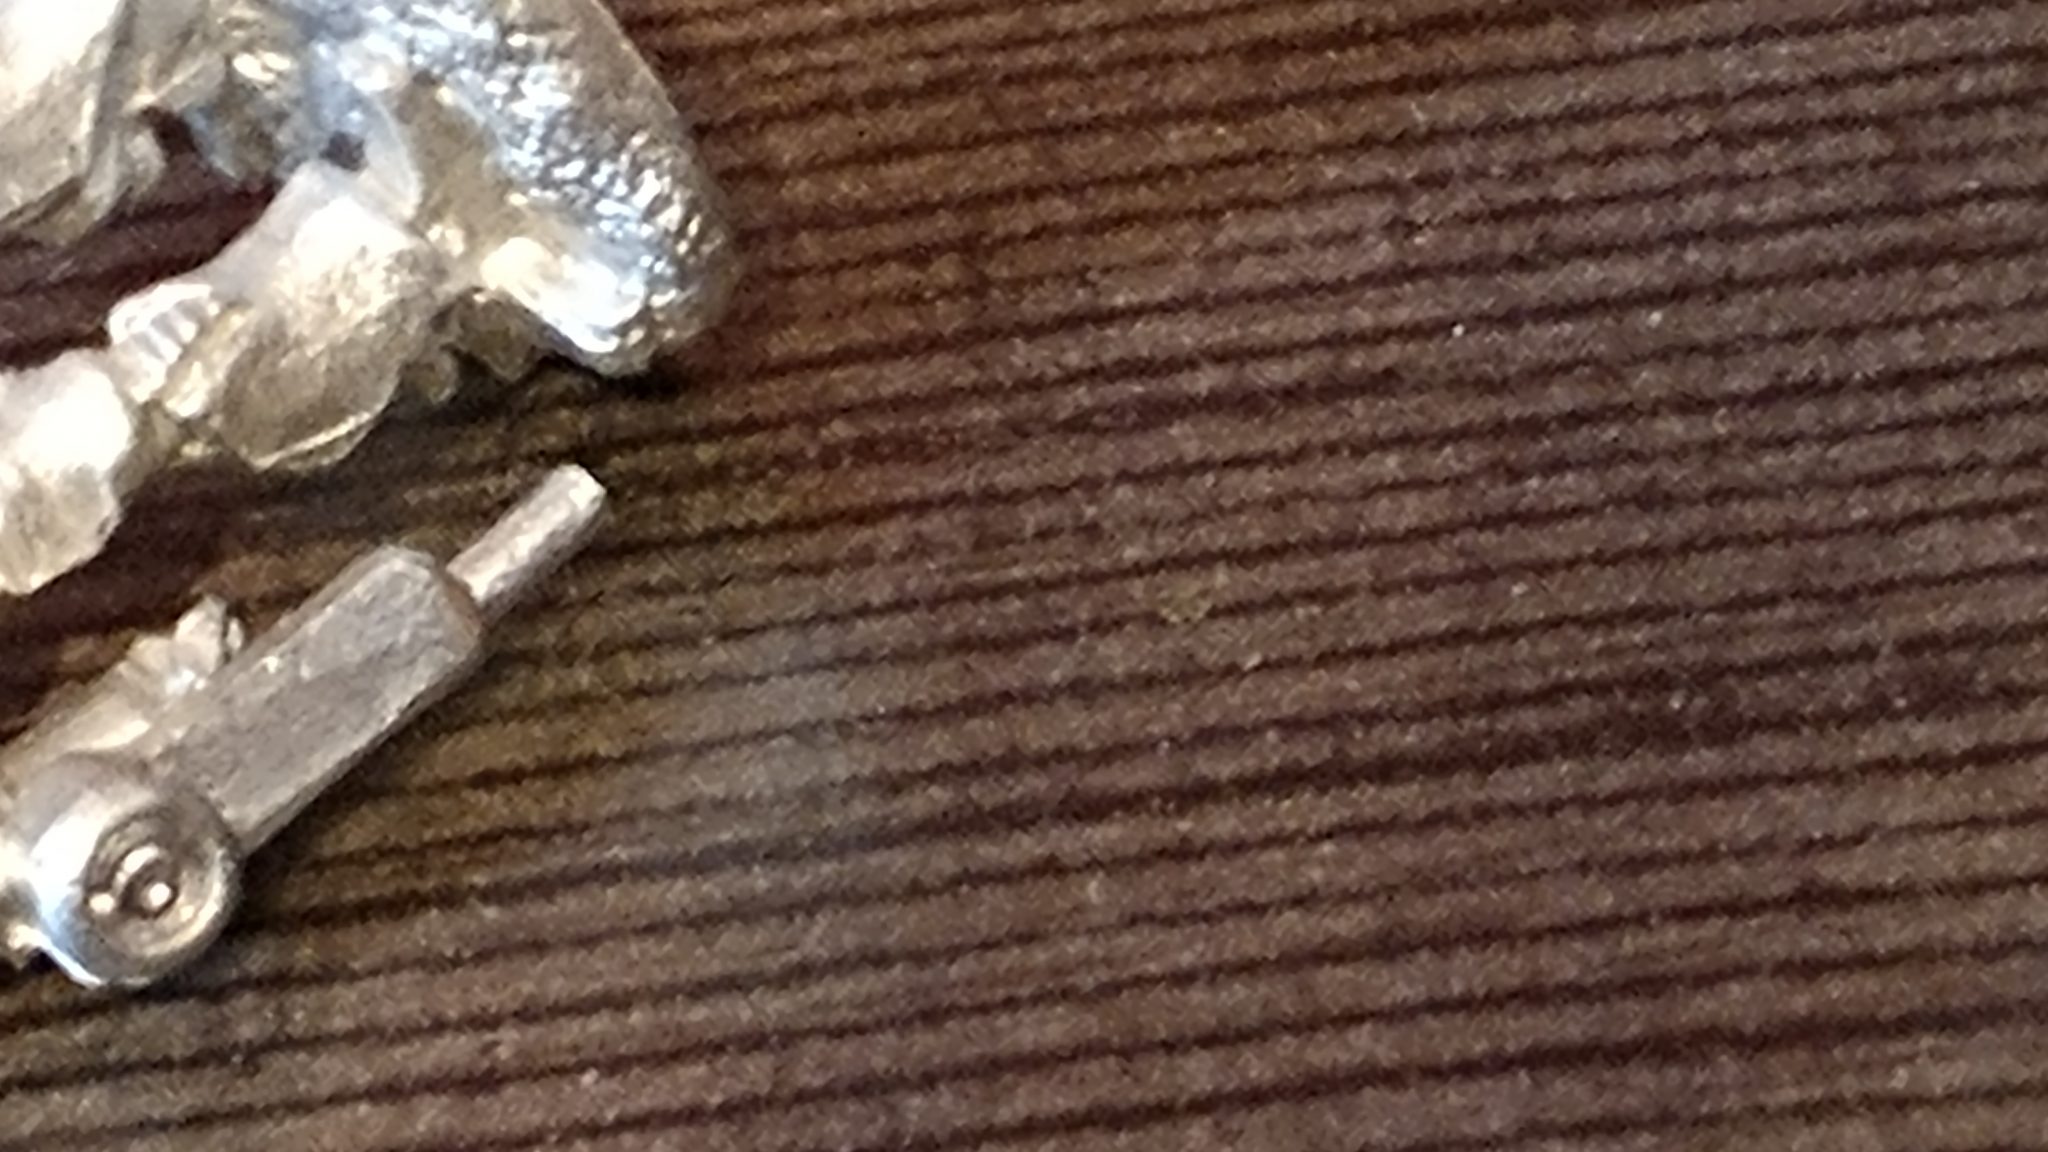
Step 2 – Getting Them on the Bases
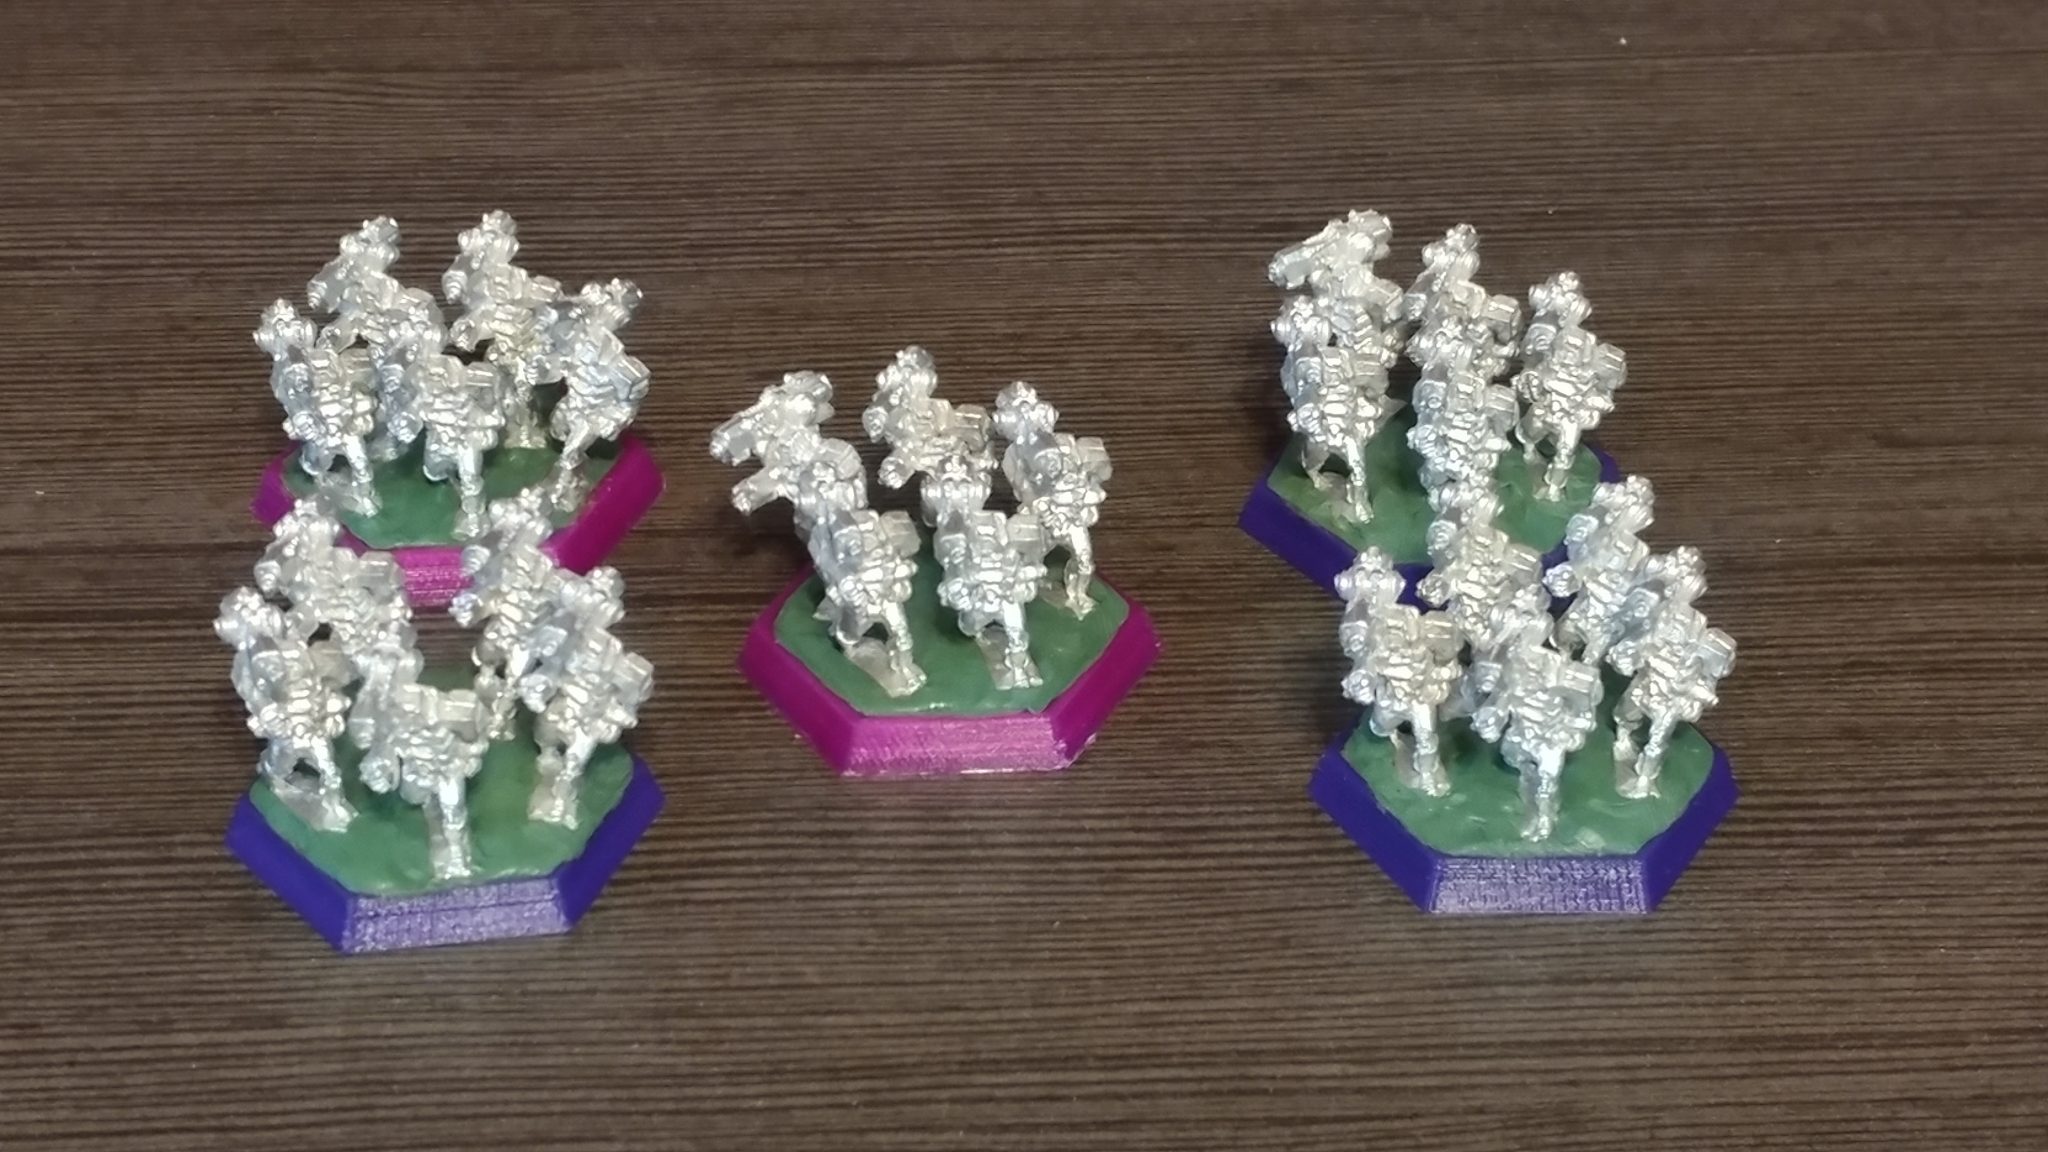
Corona Heavy Battle Armor is easily distinguished by its shoulder-mounted Medium Pulse Laser.
I was pleased that I could fit five models on a standard sized hex base. The bases I’m using were 3D printed and are the same size and dimensions as the hex bases available from Iron Wind Metals.
Some modeling putty provided the perfect soft ground to sink the models’ bases into and saved me the trouble of having to cut off the bases. This won’t always be possible with all battle armors, In fact, fitting five models to a base will not be possible in all cases.
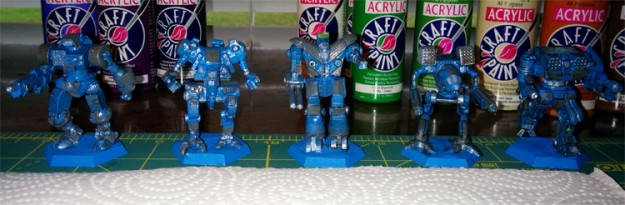
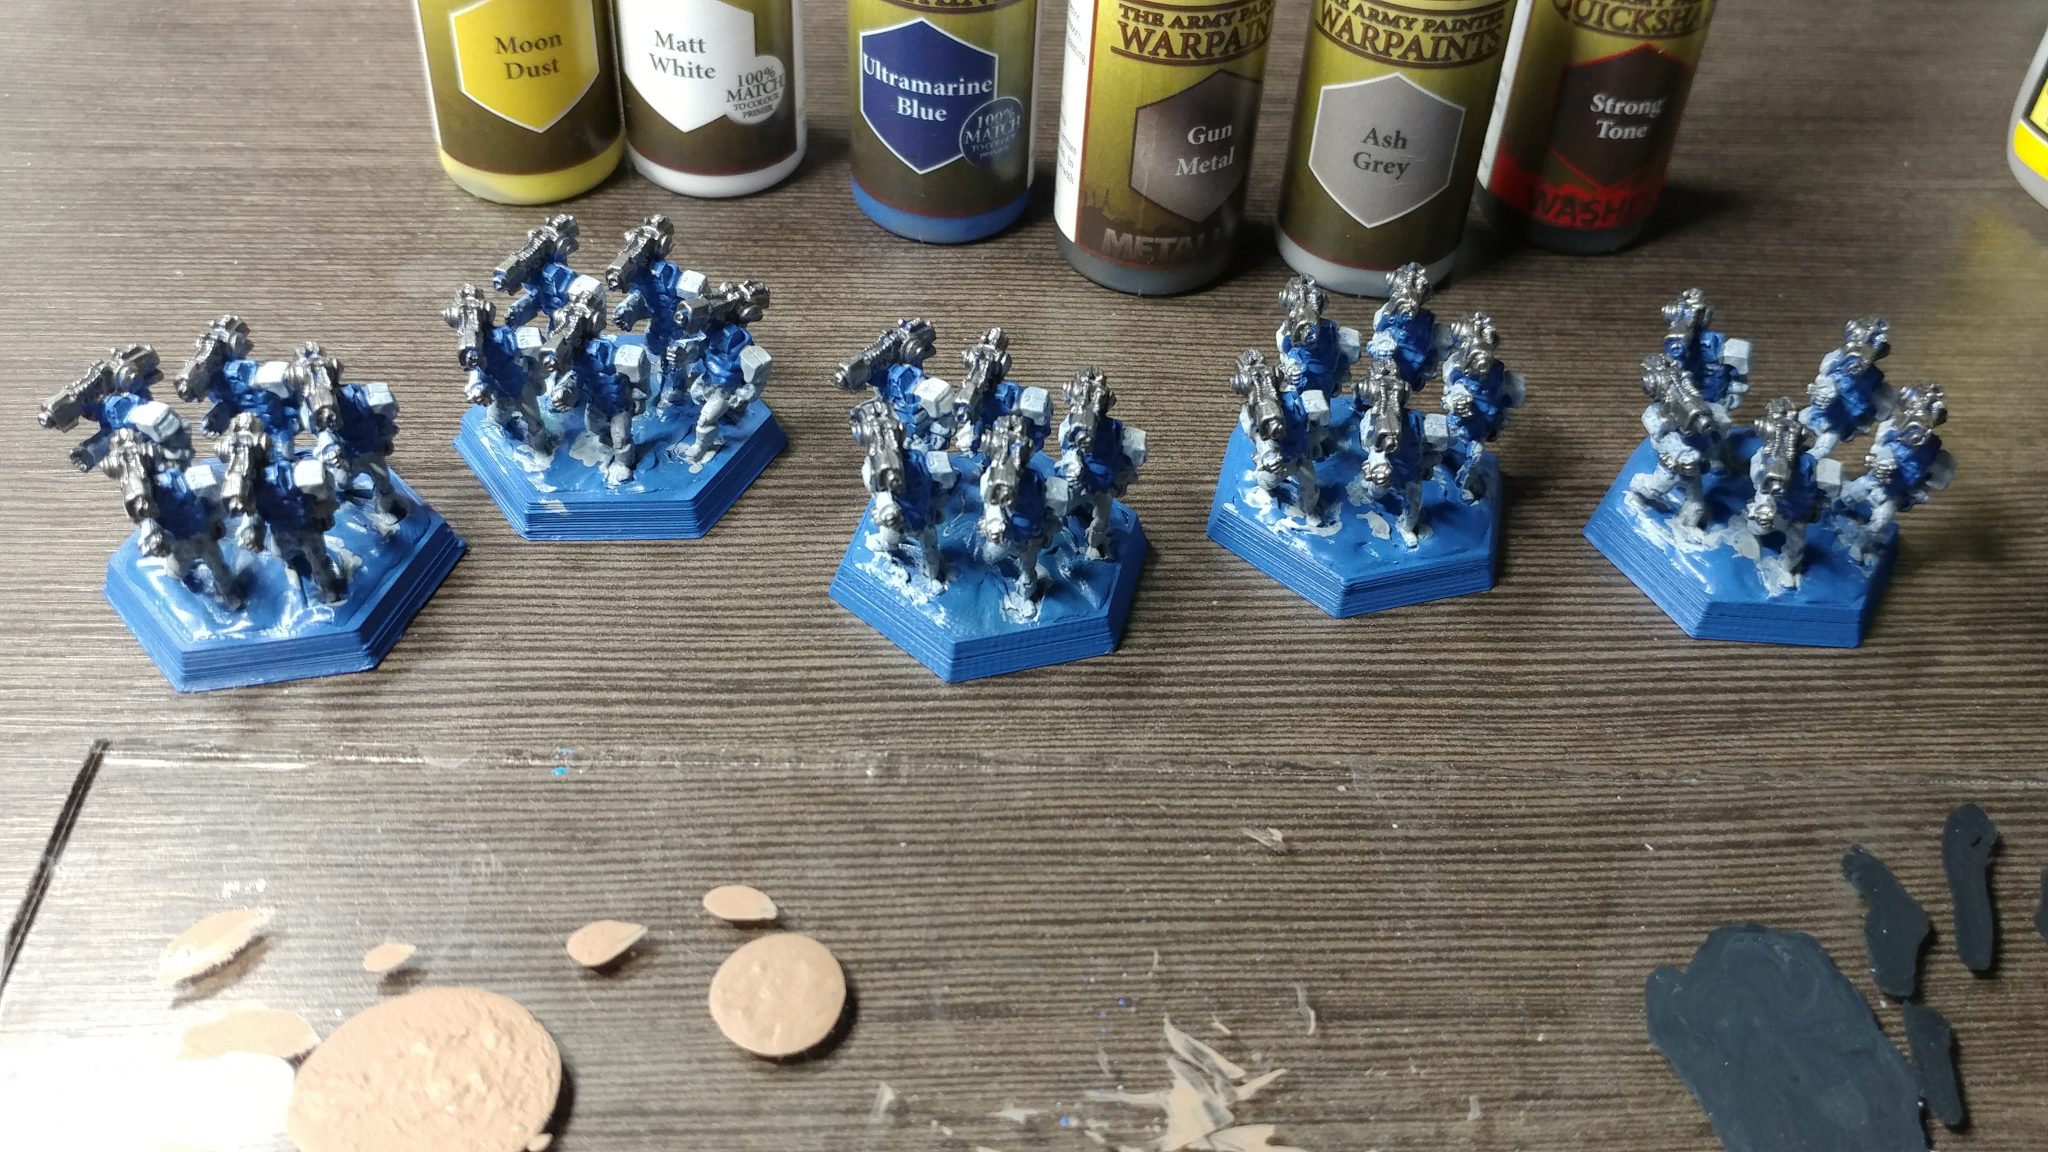
Step 3 – Primer and Colors
You want blue? We got blue!
I use Army Painter paints for my hobby projects. I quick spray and touching up with a basecoat of matching Ultramarine Blue, and the Corona is ready for colors.
Battle Armor is tough to paint!
Keeping the paint scheme rather simple, I went with my standard 2nd Bear Regulars scheme. Blue torso and head, grey limbs, and some metal for the metal bits. Also, not shown in this picture, I added some dull yellow to the view plates on the heads.
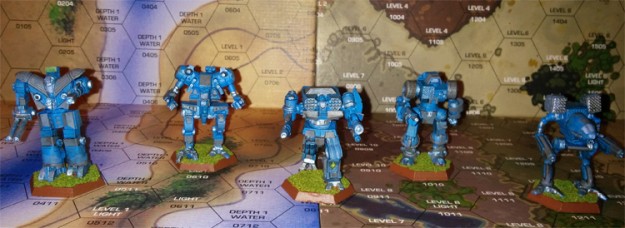
Step 4 – Shading, Basing, and Varnish
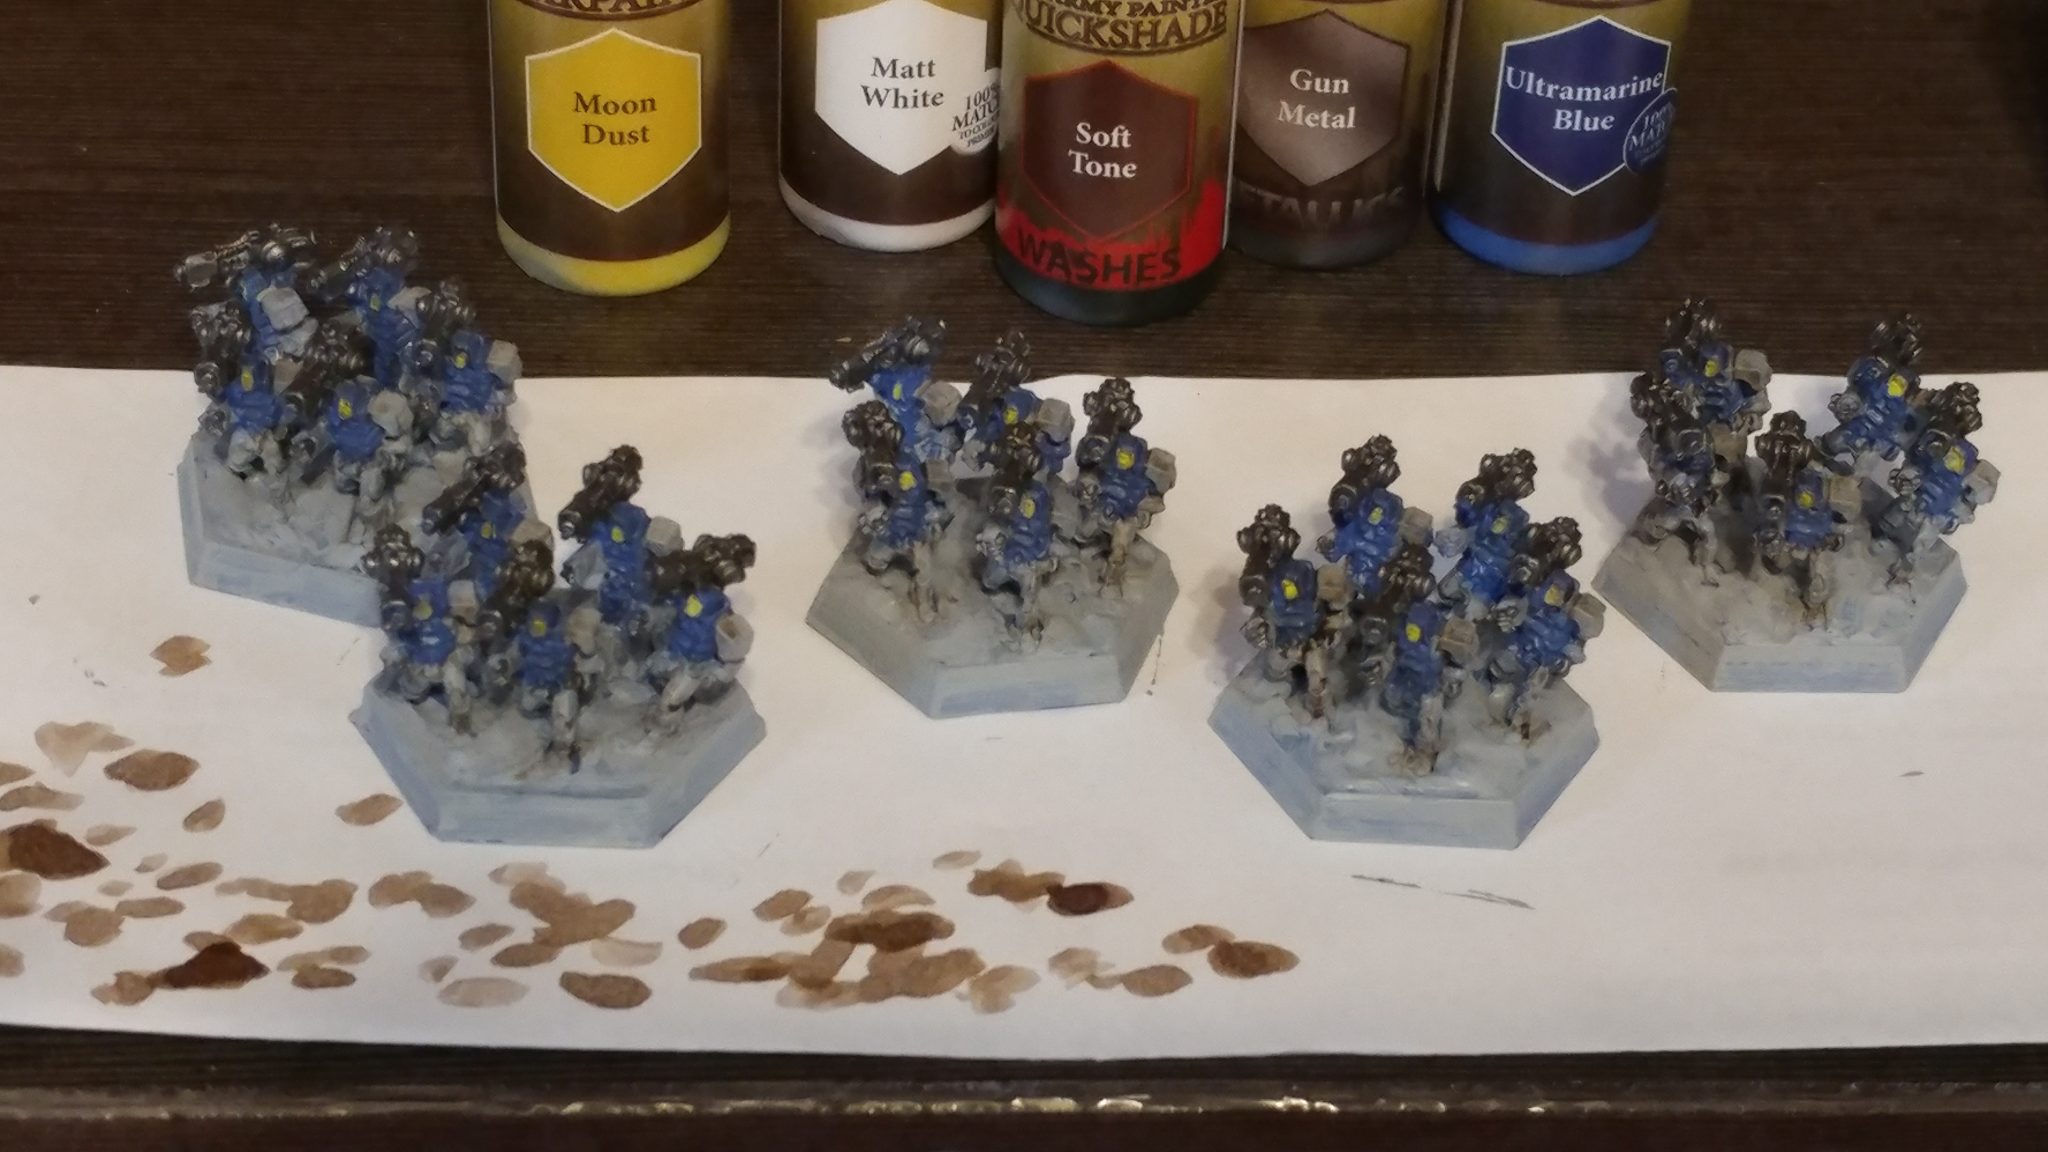
Almost there.
I washed the models with Army Painter Soft Tone, thinking that I could darken it up if I needed to. When it was done, I decided that I liked the shading and moved on to the next part.
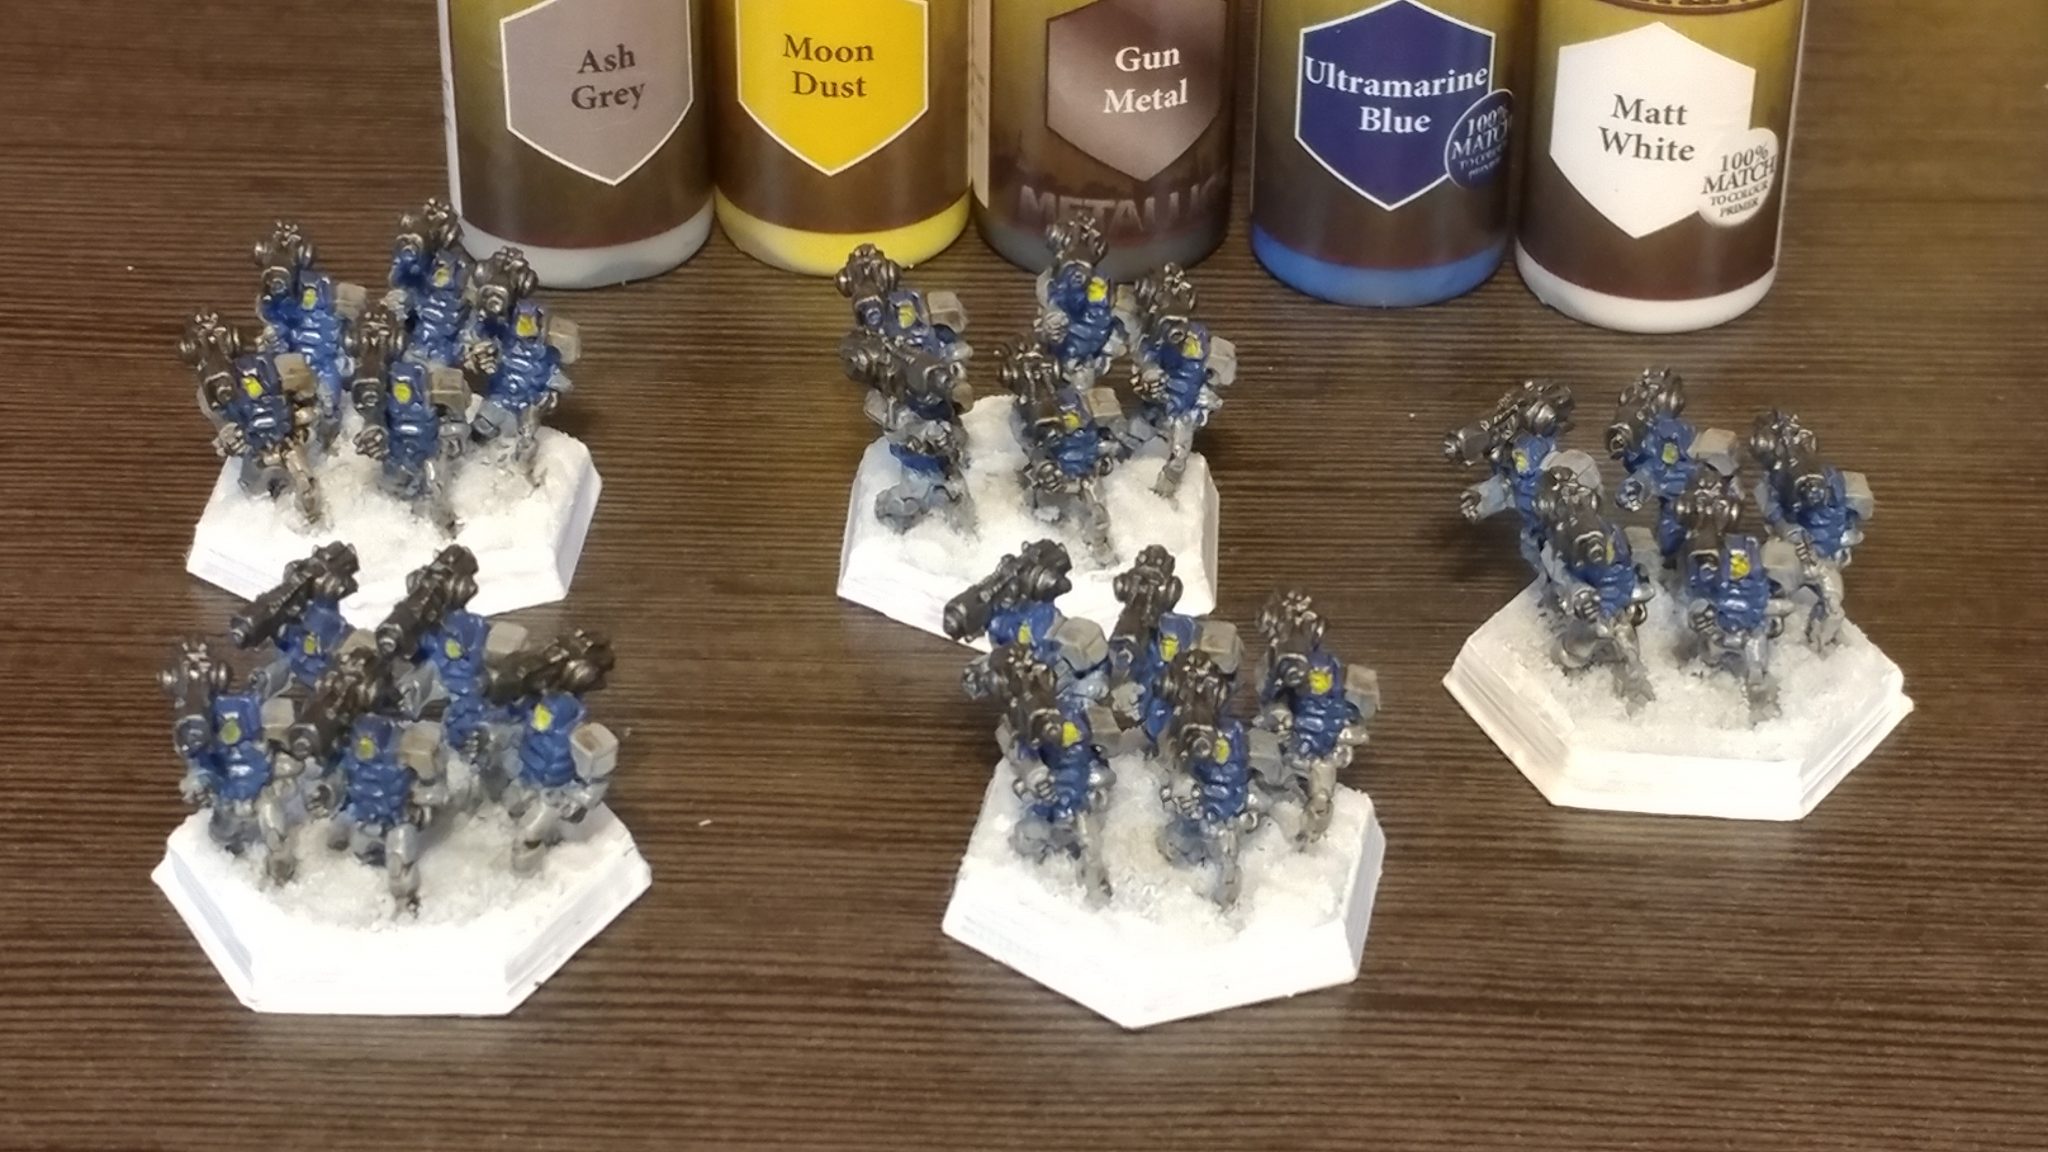
Ready for action!
This was my first time using the Army Painter Snow basing material, and I really like it. I’ve worked with other snow basing materials before, and this stuff was my favorite to work with. I think the coverage was better than what I’d used before, and it seemed to stick better to the glue.
Once the glue dried, it was outside for a quick round of varnish, and there we have it!
Why Use Corona Heavy Battle Armor?
So it made sense to me to wrap up each YoBA article with some pros and cons and a little bit about why you might want to use the Battle Armor I’ve just discussed.
I won’t take the time to break down all of the BattleTech vs Alpha Strike differences, but instead focus on what makes the Corona an interesting choice.
Pros
- Longer Range in BattleTech than most other Battle Armors.
- Mechanized capabilities for OmniMech transport
- Solid damage profile-to-PV balance in Alpha Strike
- Opponents unlikely to anticipate the pick, for element of surprise.
- IS Clan General beginning in Civil War time period.
Cons
- Less armor than standard Elemental Battle Armor
- No Jump Jet capability, leaving the Corona on the ground.
- Only one variant apart from the standard version, listed as Star Adder available only.
If you would like to learn more about Corona Heavy Battle Armor, you can check out the products listed below.
BattleTech Technical Readout: 3075
BattleTech Record Sheets: 3075 Unabridged – The Cutting Edge
Parting Shot
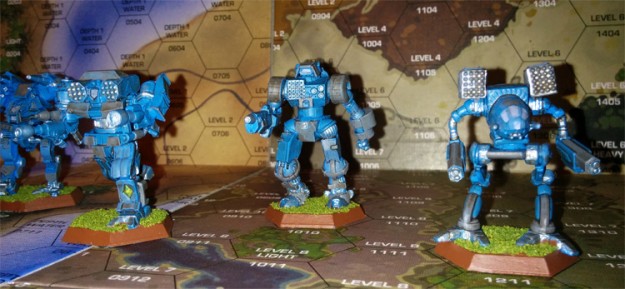
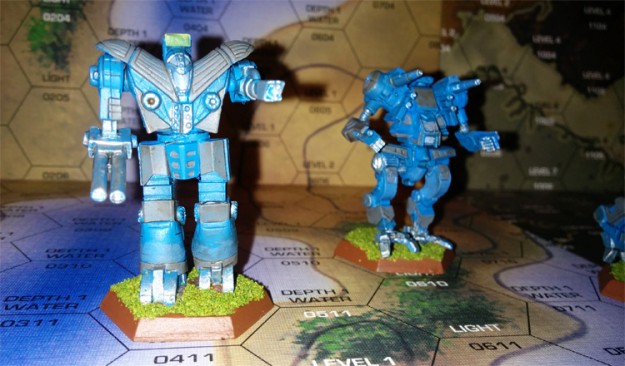
And finally, I’ll leave you all with this teaser of the next Battle Armor, currently on the table. Thank you for reading, and I hope you’ll join me for the rest of the Year of Battle Armor!
What is this Battle Armor? Share your guesses in the comments!