Difference between revisions of "The Falcon and the Wolf Gallery"
Sarna News


m (...work on next day) |
m (...in work) |
||
| Line 1: | Line 1: | ||
<gallery> | <gallery> | ||
| + | |||
| + | Image:The Falcon and the Wolf (1).jpg|Illustration by ?? | ||
| + | Image:The Falcon and the Wolf (2).jpg|Illustration by [[Bradley K. McDevitt]] '95 | ||
| + | Image:The Falcon and the Wolf (3).jpg|Illustration by Bradley K. McDevitt '95 | ||
| + | Image:The Falcon and the Wolf (4).jpg|Illustration by Bradley K. McDevitt '95 | ||
| + | Image:The Falcon and the Wolf (5).jpg|Illustration by [[Peter Bergting]] '95 | ||
| + | Image:The Falcon and the Wolf (6).jpg|Illustration by Bradley K. McDevitt '94 | ||
| + | Image:The Falcon and the Wolf (7).jpg|Illustration by ?? | ||
| + | Image:The Falcon and the Wolf (8).jpg|Illustration by [[John Paul Lona]] '95 | ||
| + | Image:The Falcon and the Wolf (9).jpg|Illustration by ?? | ||
| + | Image:The Falcon and the Wolf (10).jpg|Illustration by Peter Bergting | ||
| + | Image:The Falcon and the Wolf (11).jpg|Illustration by ?? | ||
| + | Image:The Falcon and the Wolf (12).jpg|Illustration by Peter Bergting | ||
| + | Image:The Falcon and the Wolf (13).jpg|Illustration by Bradley K. McDevitt '95 | ||
| + | Image:The Falcon and the Wolf (14).jpg|Illustration by [[Ray Lederer]] '95 | ||
| + | Image:The Falcon and the Wolf (15).jpg|Illustration by Ray Lederer | ||
| + | Image:The Falcon and the Wolf (16).jpg|Illustration by John Paul Lona '95 | ||
| + | Image:The Falcon and the Wolf (17).jpg|Illustration by Ray Lederer '95 | ||
| + | Image:The Falcon and the Wolf (18).jpg|Illustration by Ray Lederer | ||
| + | Image:The Falcon and the Wolf (19).jpg|Illustration by ?? | ||
| + | Image:The Falcon and the Wolf (20).jpg|Illustration by Ray Lederer '95 | ||
| + | Image:The Falcon and the Wolf (21).jpg|Illustration by John Paul Lona '95 | ||
| + | Image:The Falcon and the Wolf (22).jpg|Illustration by ?? | ||
| + | Image:The Falcon and the Wolf (23).jpg|Illustration by Ray Lederer | ||
| + | Image:The Falcon and the Wolf (24).jpg|Illustration by Ray Lederer '95 | ||
| + | Image:The Falcon and the Wolf (25).jpg|Illustration by ?? | ||
| + | Image:The Falcon and the Wolf (26).jpg|Illustration by ?? | ||
| + | Image:The Falcon and the Wolf (27).jpg|Illustration by [[Jim Nelson]] | ||
| + | Image:The Falcon and the Wolf (28).jpg|Illustration by Ray Lederer '95 | ||
</gallery> | </gallery> | ||
[[Category:Galleries]] | [[Category:Galleries]] | ||
Revision as of 07:30, 12 April 2010
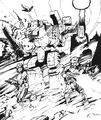
Illustration by ??
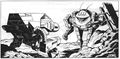
Illustration by Bradley K. McDevitt '95
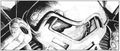
Illustration by Bradley K. McDevitt '95
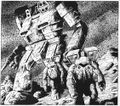
Illustration by Bradley K. McDevitt '95
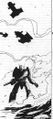
Illustration by Peter Bergting '95
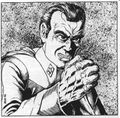
Illustration by Bradley K. McDevitt '94
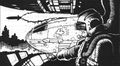
Illustration by ??
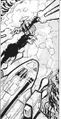
Illustration by John Paul Lona '95
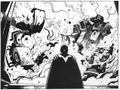
Illustration by ??
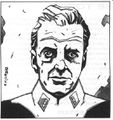
Illustration by Peter Bergting
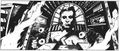
Illustration by ??
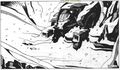
Illustration by Peter Bergting
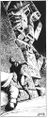
Illustration by Bradley K. McDevitt '95
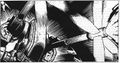
Illustration by Ray Lederer '95
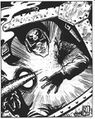
Illustration by Ray Lederer
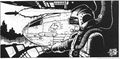
Illustration by John Paul Lona '95
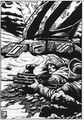
Illustration by Ray Lederer '95
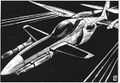
Illustration by Ray Lederer
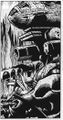
Illustration by ??
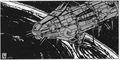
Illustration by Ray Lederer '95
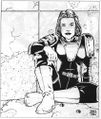
Illustration by John Paul Lona '95

Illustration by ??
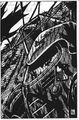
Illustration by Ray Lederer
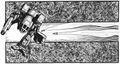
Illustration by Ray Lederer '95
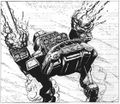
Illustration by ??
Illustration by ??
Illustration by Jim Nelson
Illustration by Ray Lederer '95
.jpg)
.jpg)
.jpg)
.jpg)
.jpg)
.jpg)
.jpg)
.jpg)
.jpg)
.jpg)
.jpg)
.jpg)
.jpg)
.jpg)
.jpg)
.jpg)
.jpg)
.jpg)
.jpg)
.jpg)
.jpg)
.jpg)
.jpg)
.jpg)
.jpg)
.jpg)